Halloween Wreath Tutorial
As you all know, I love fall and Halloween is one of my favorite holidays as well. Ok let’s be serious, I love ALL holidays. Any excuse to get dressed up or decorate the house is a-okay by me!
I had a fall wreath up on the front door but when I put out all of my Halloween decorations, I decided I needed a Halloween wreath to follow suit. Since it would only be up for a month, I wanted to keep it fairly low budget.
So I decided to wander the aisles of the Dollar Tree and this is what I whipped up! I had so many people ask me how I made it so here is a tutorial. Super easy and cheap and the best part? No glue or tape or anything other than these supplies! Have fun 🙂
 |
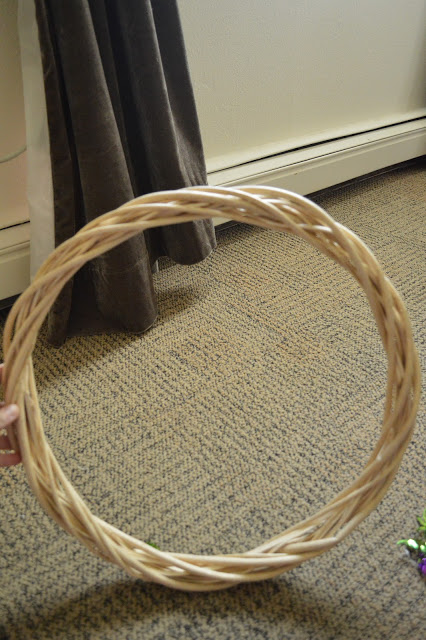
| Everything was $1! Can’t beat a DIY for $7 🙂 |
 |
| Tuck an end of the garland into the wood |
 |
| Pull through and tuck securely under |
 |
| Wrap garland around, moving in and out of the center |
 |
| Layer 1 |
 |
| Tuck a piece of the wire garland in the wood and secure |
 |
| Wrap garland moving in and out of center |
 |
| Layer 2 |
 |
| Layer 3 |
 |
| Skeleton garland |
 |
| I tied a knot and then strung it along the wreath so it was tight and they were all hanging down in the same direction |
 |
 |
| Find an area that has a gap and stick the flower through…it should be hidden on the other end by the garland |
 |
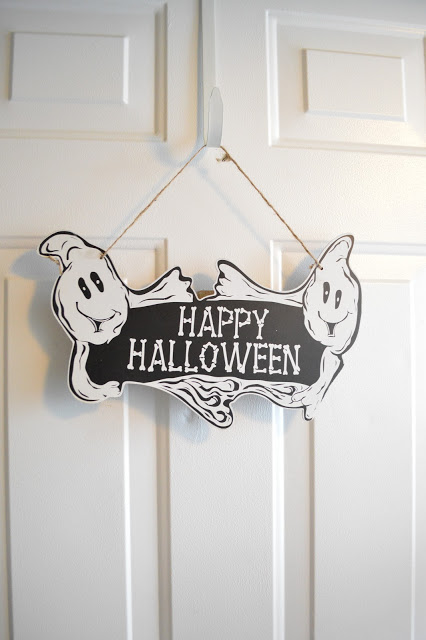
| Hang the sign |
 |
| Hang the wreath…Voila!
Materials: |


17 COMMENTS