
My mom has always been the most crafty and creative person I know. She started redoing furniture a few years ago with chalk paint and it always amazed me at what a drastic transformation there was at the end.
When Z and I got married, I had two pieces from my childhood bedroom set and he also had two from his house. So we decided to just paint everything black so they would match. Bless my sweet husband’s heart but he didn’t do it correctly. I think we used regular paint from Lowe’s; no primer, no seal, nothing. So of course, it started chipping and looked not-so-good after awhile.
So before we moved, we threw away his two pieces (they were falling apart) and wanted to redo my two. And who was I going to ask for advice? My mom of course! And that’s when she told me about this new paint she’s been using for her latest pieces, Paint Couture. We’ll talk more about that in a little.
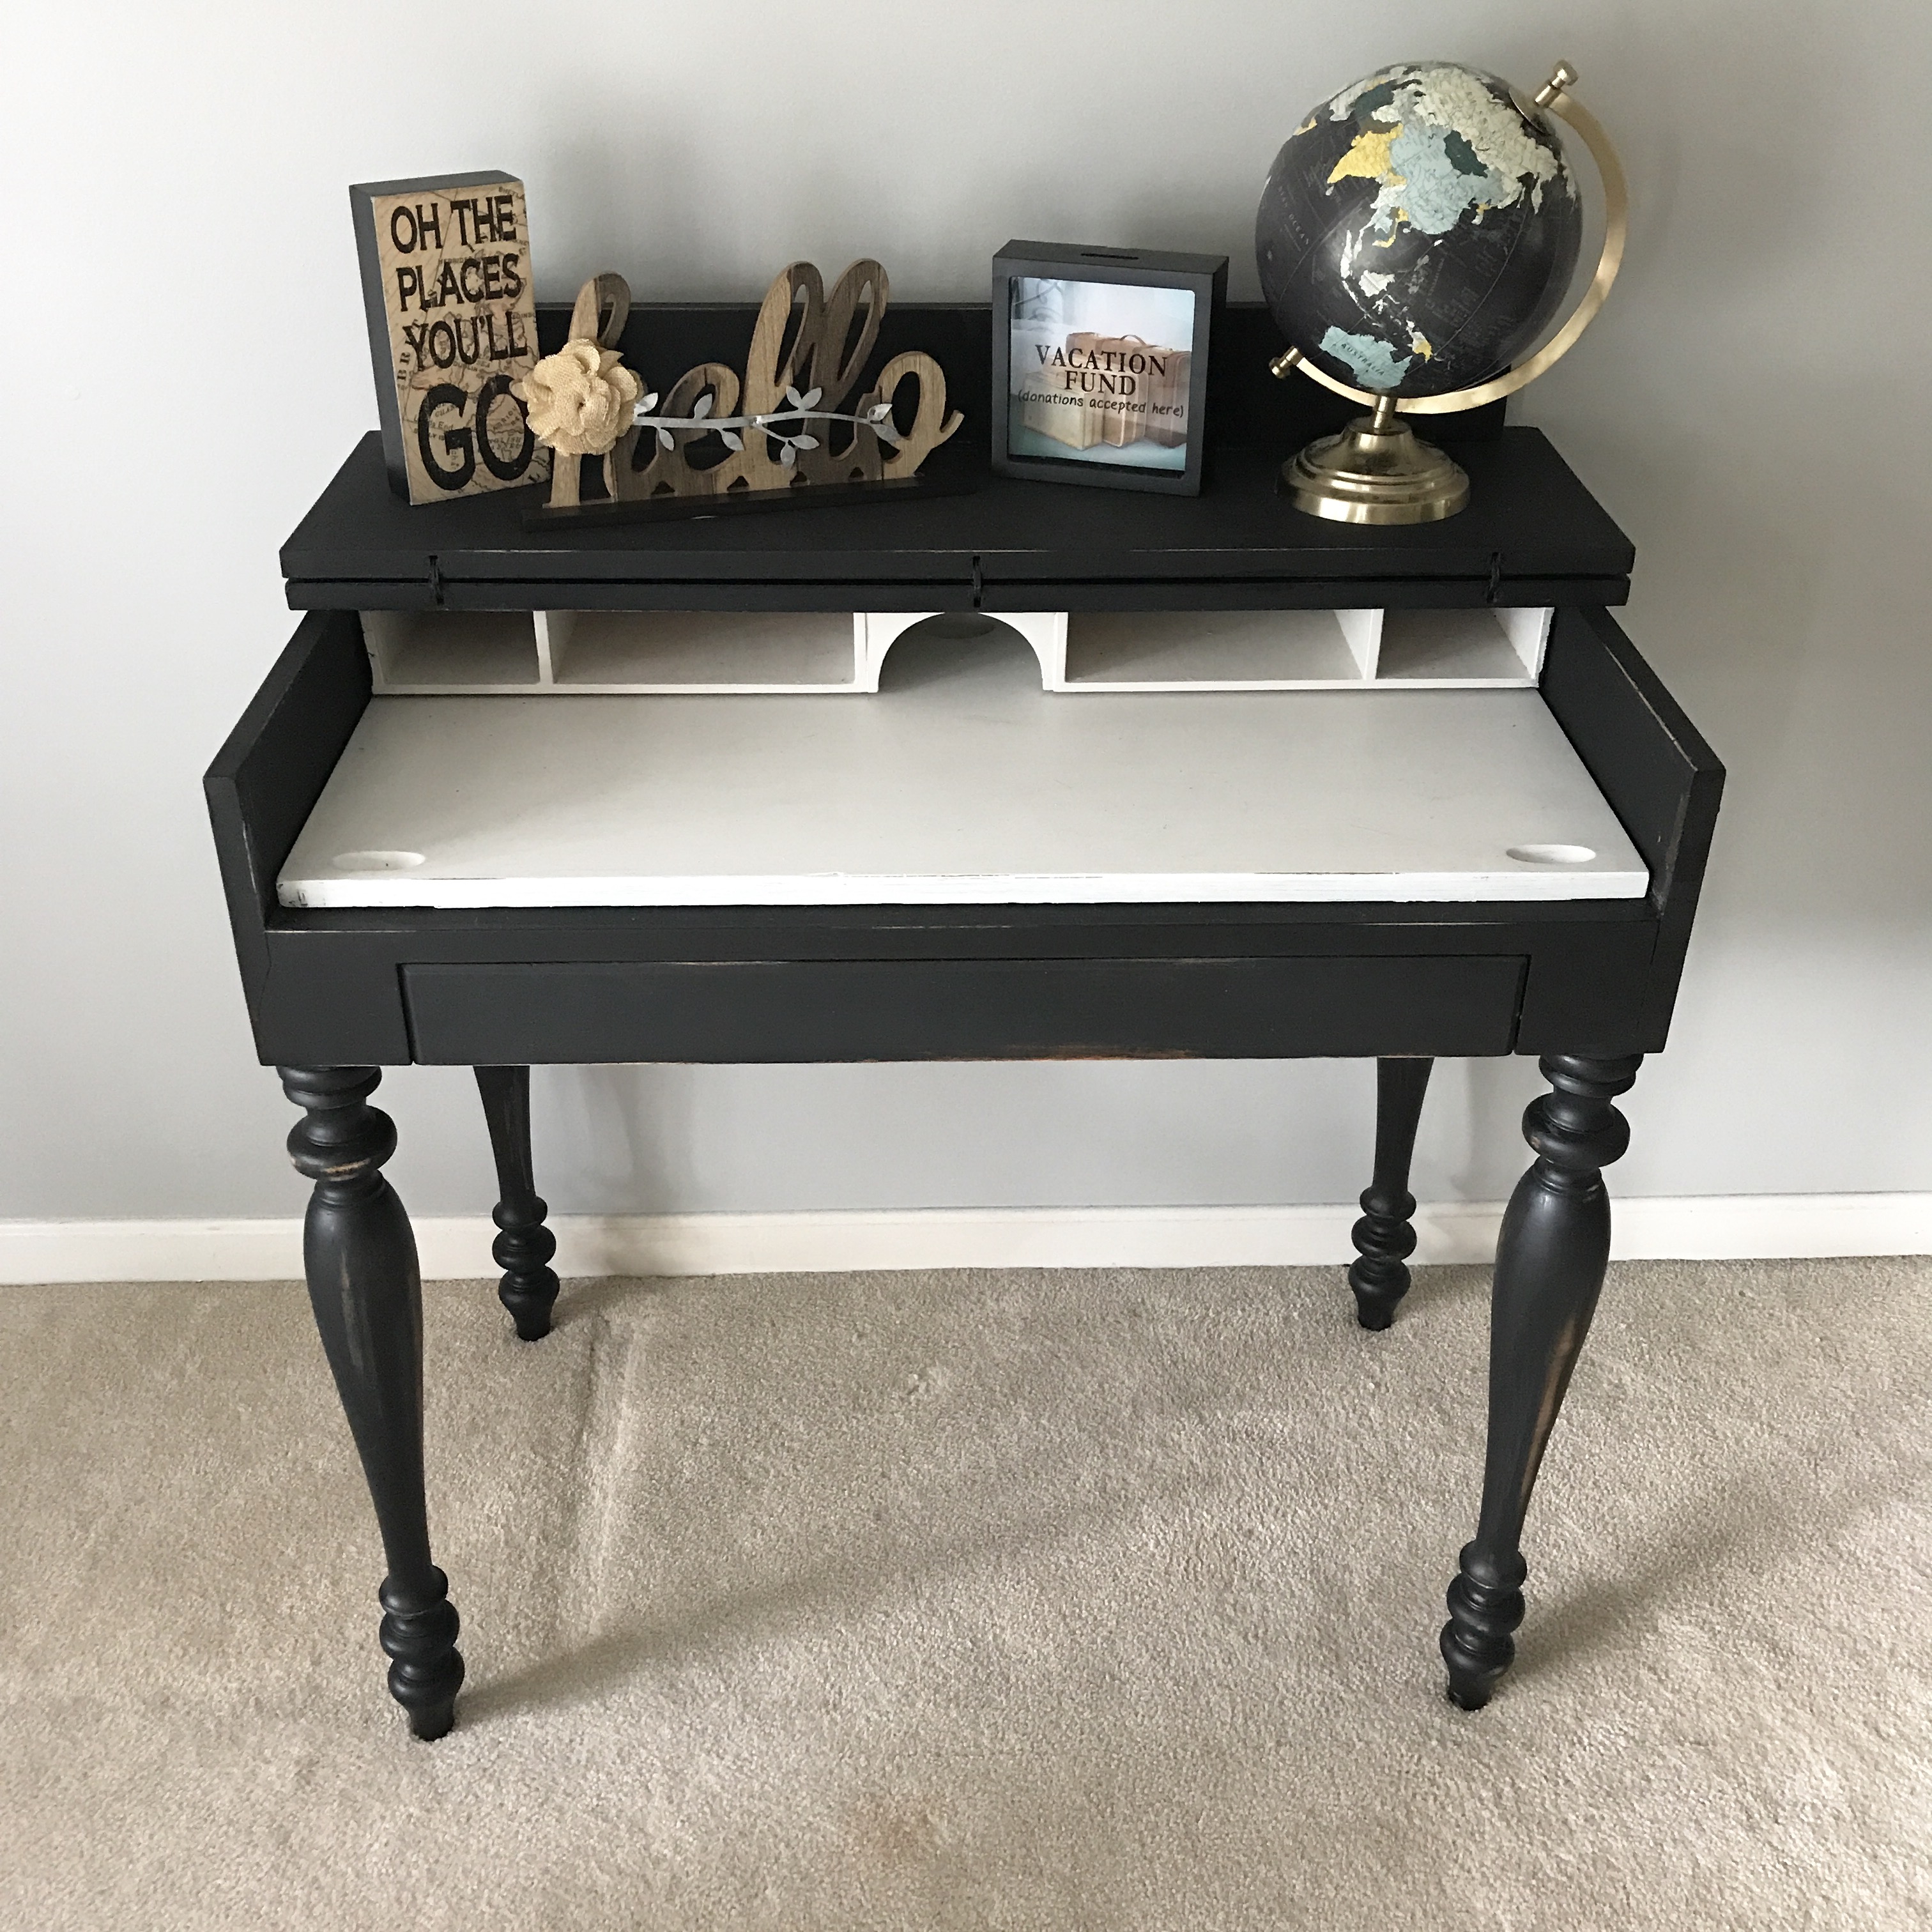
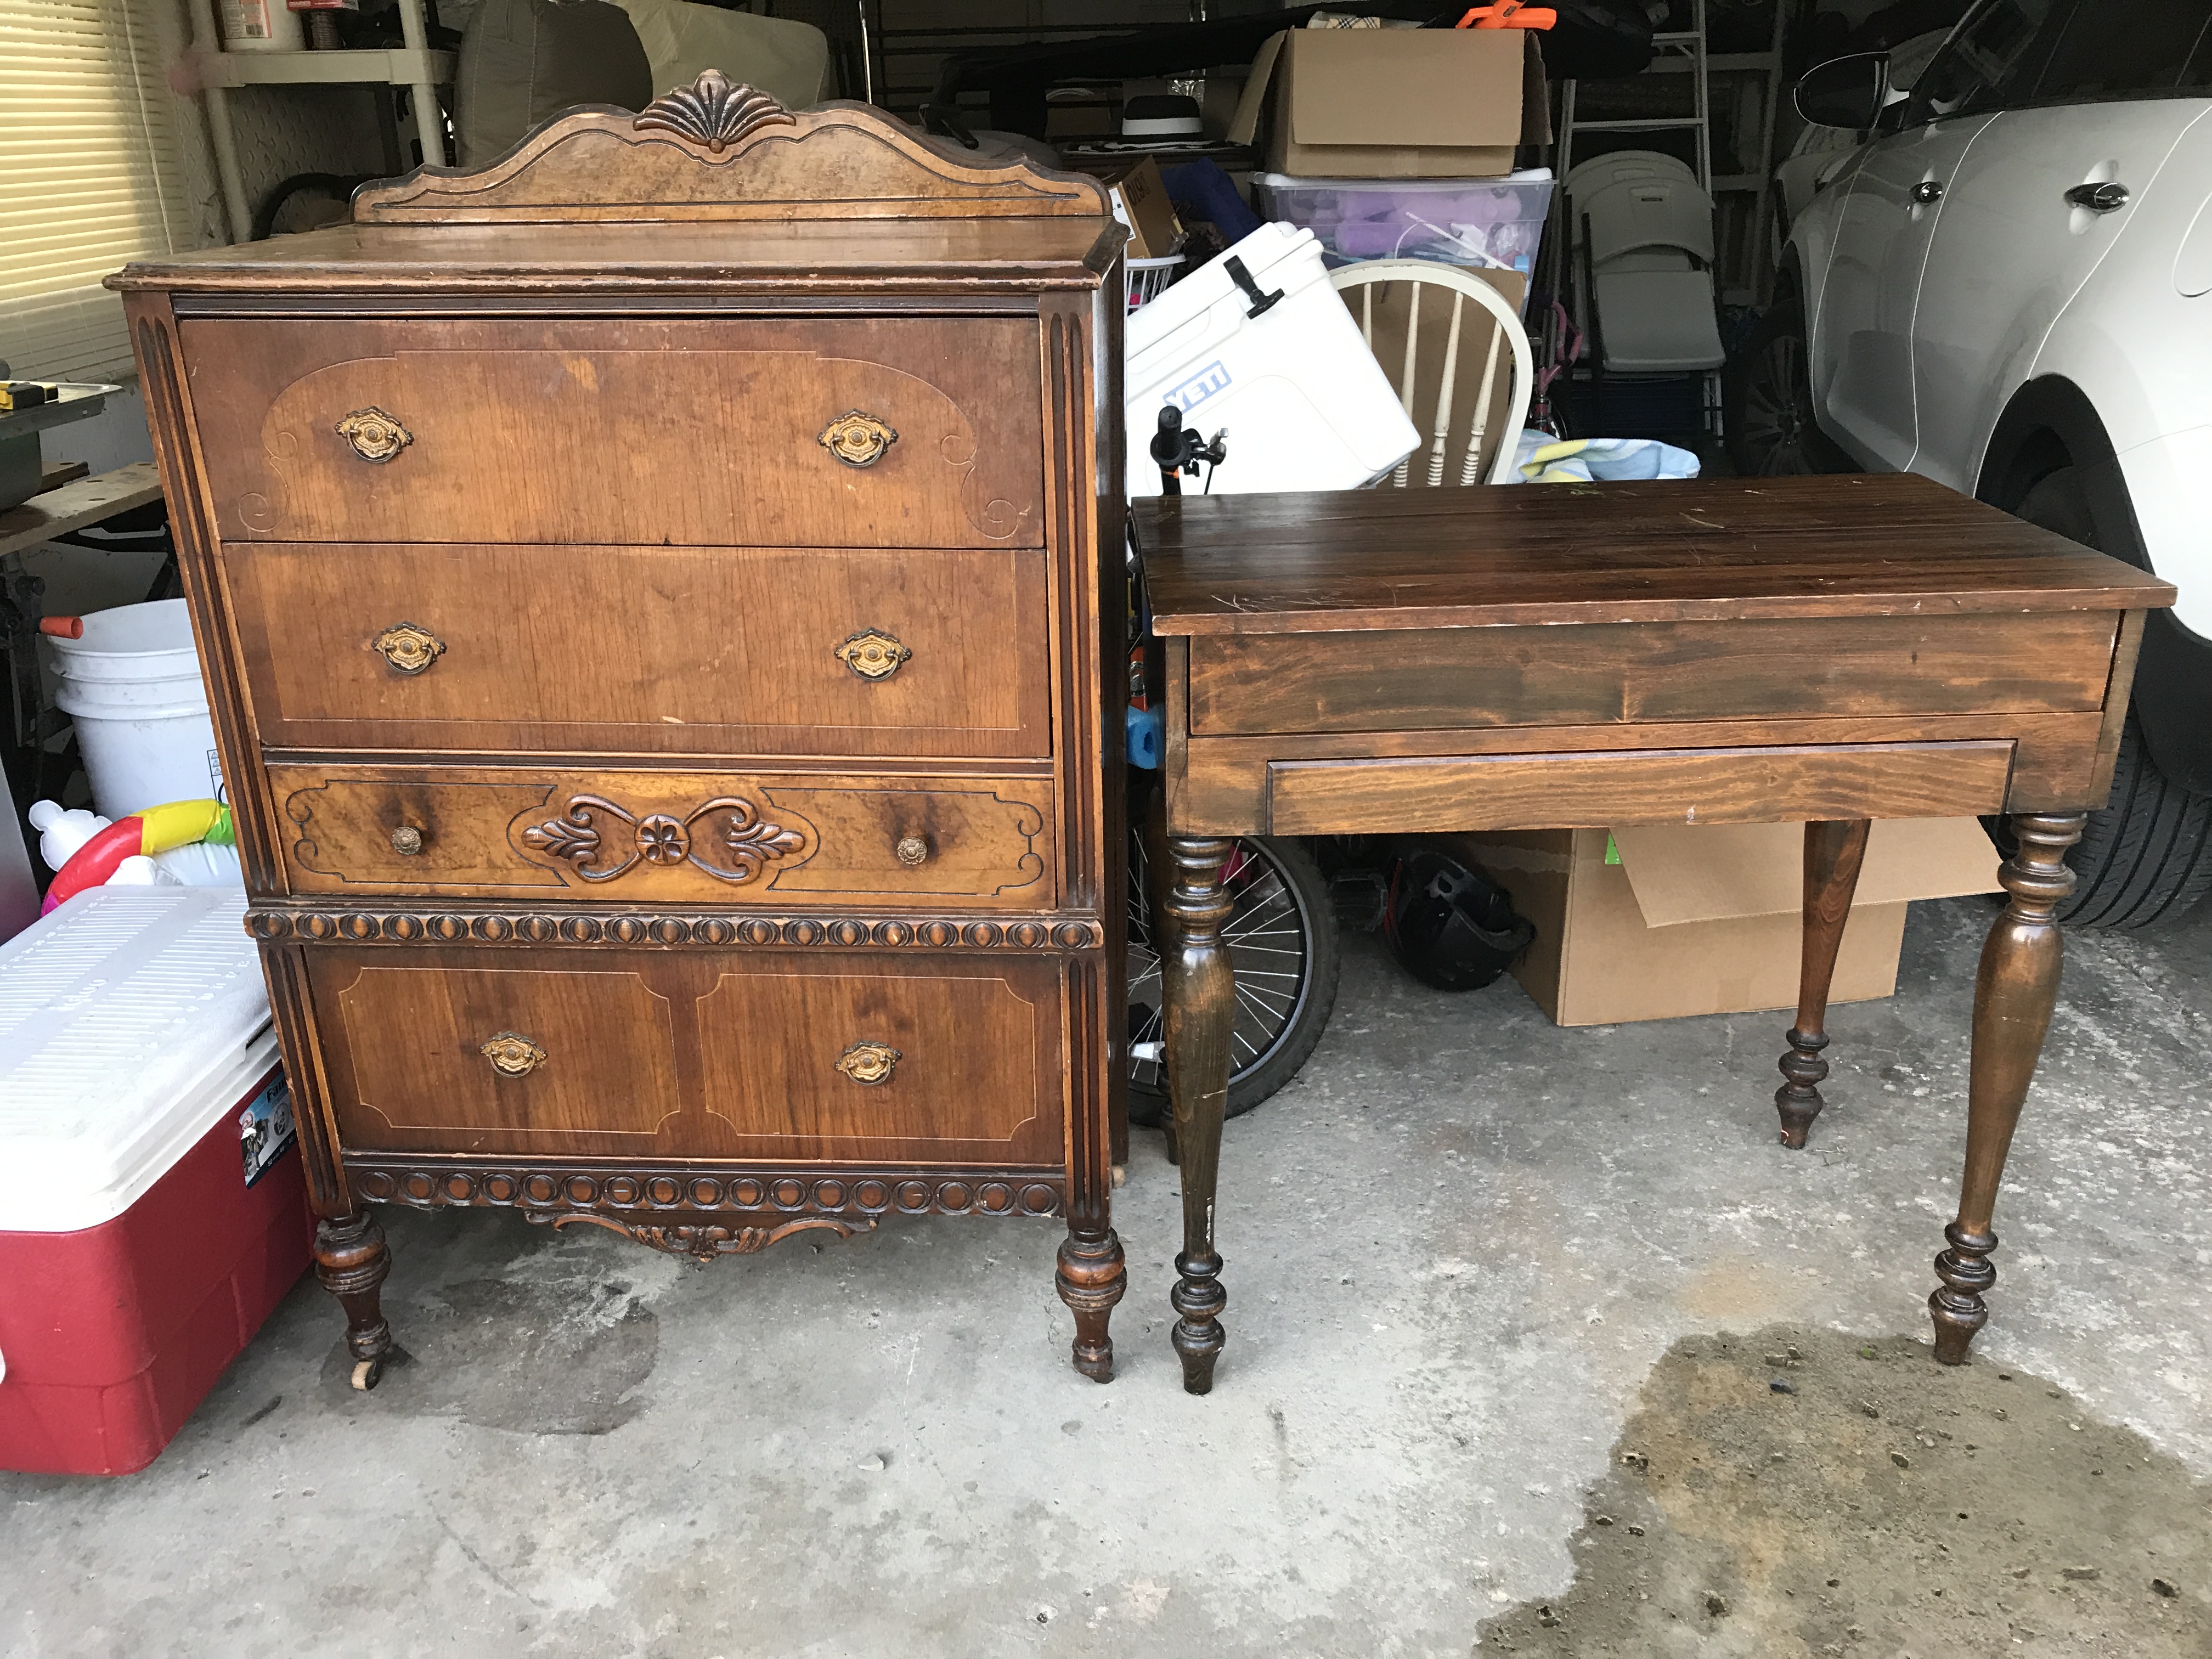
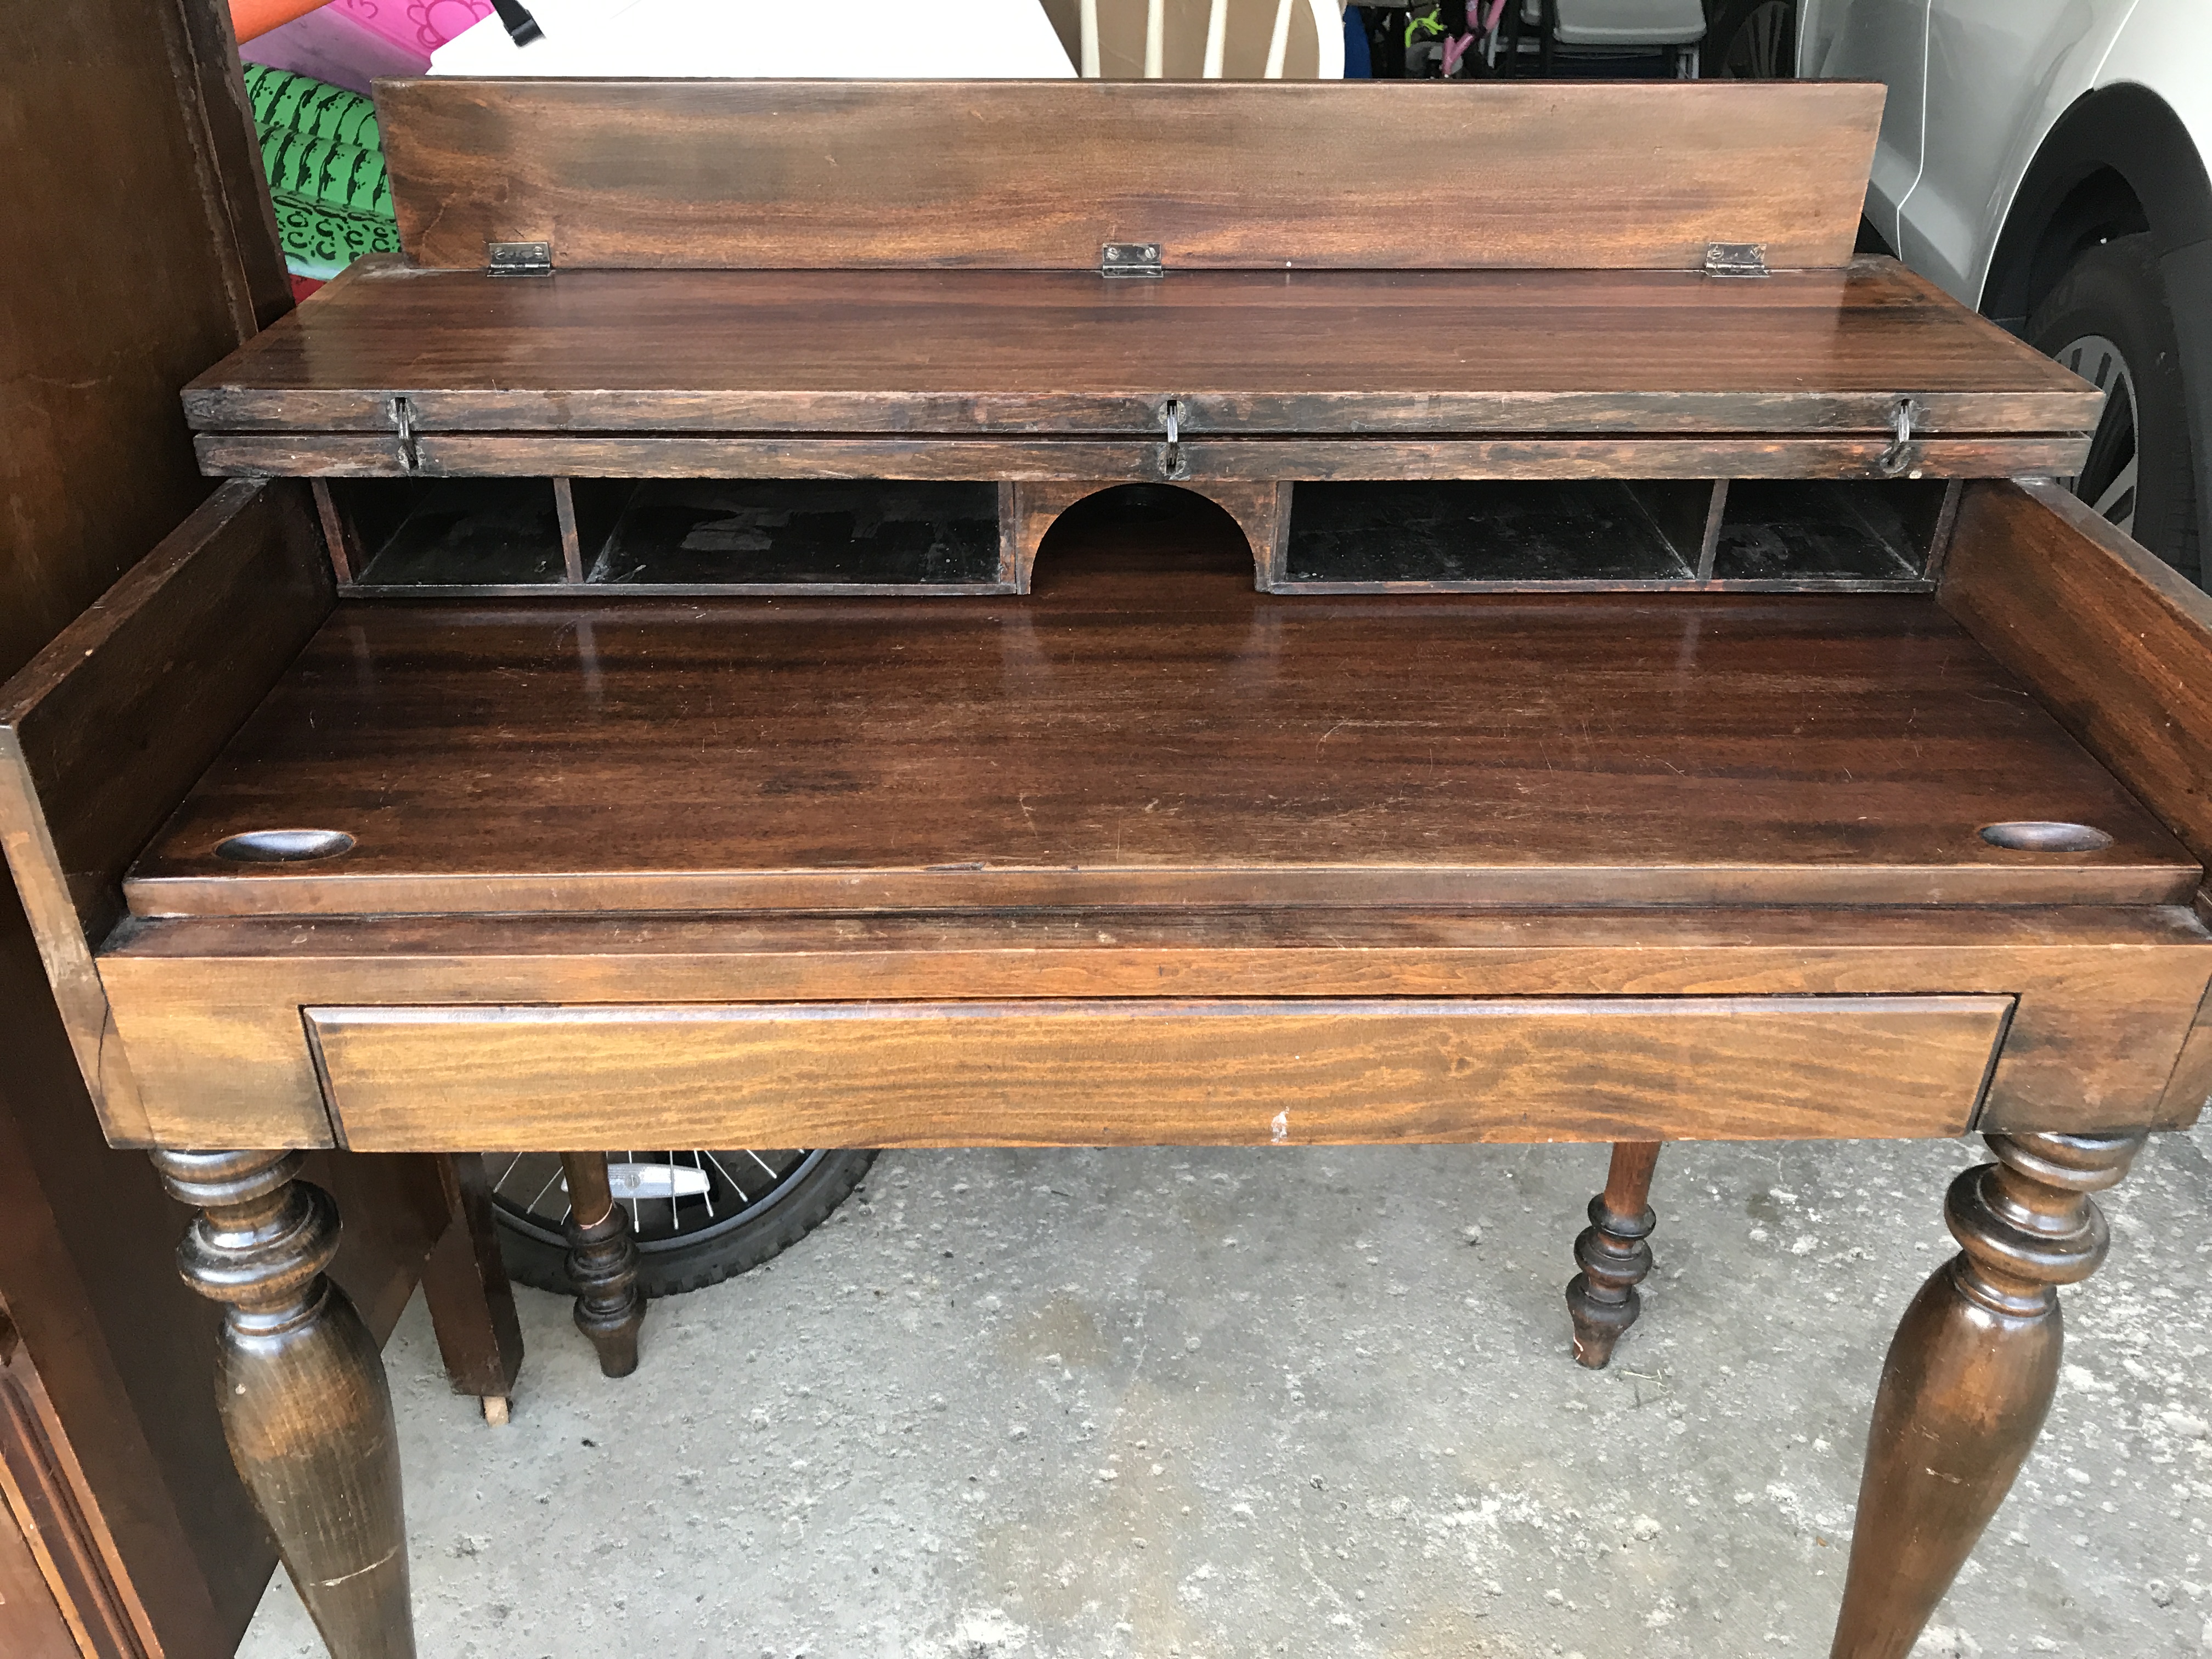
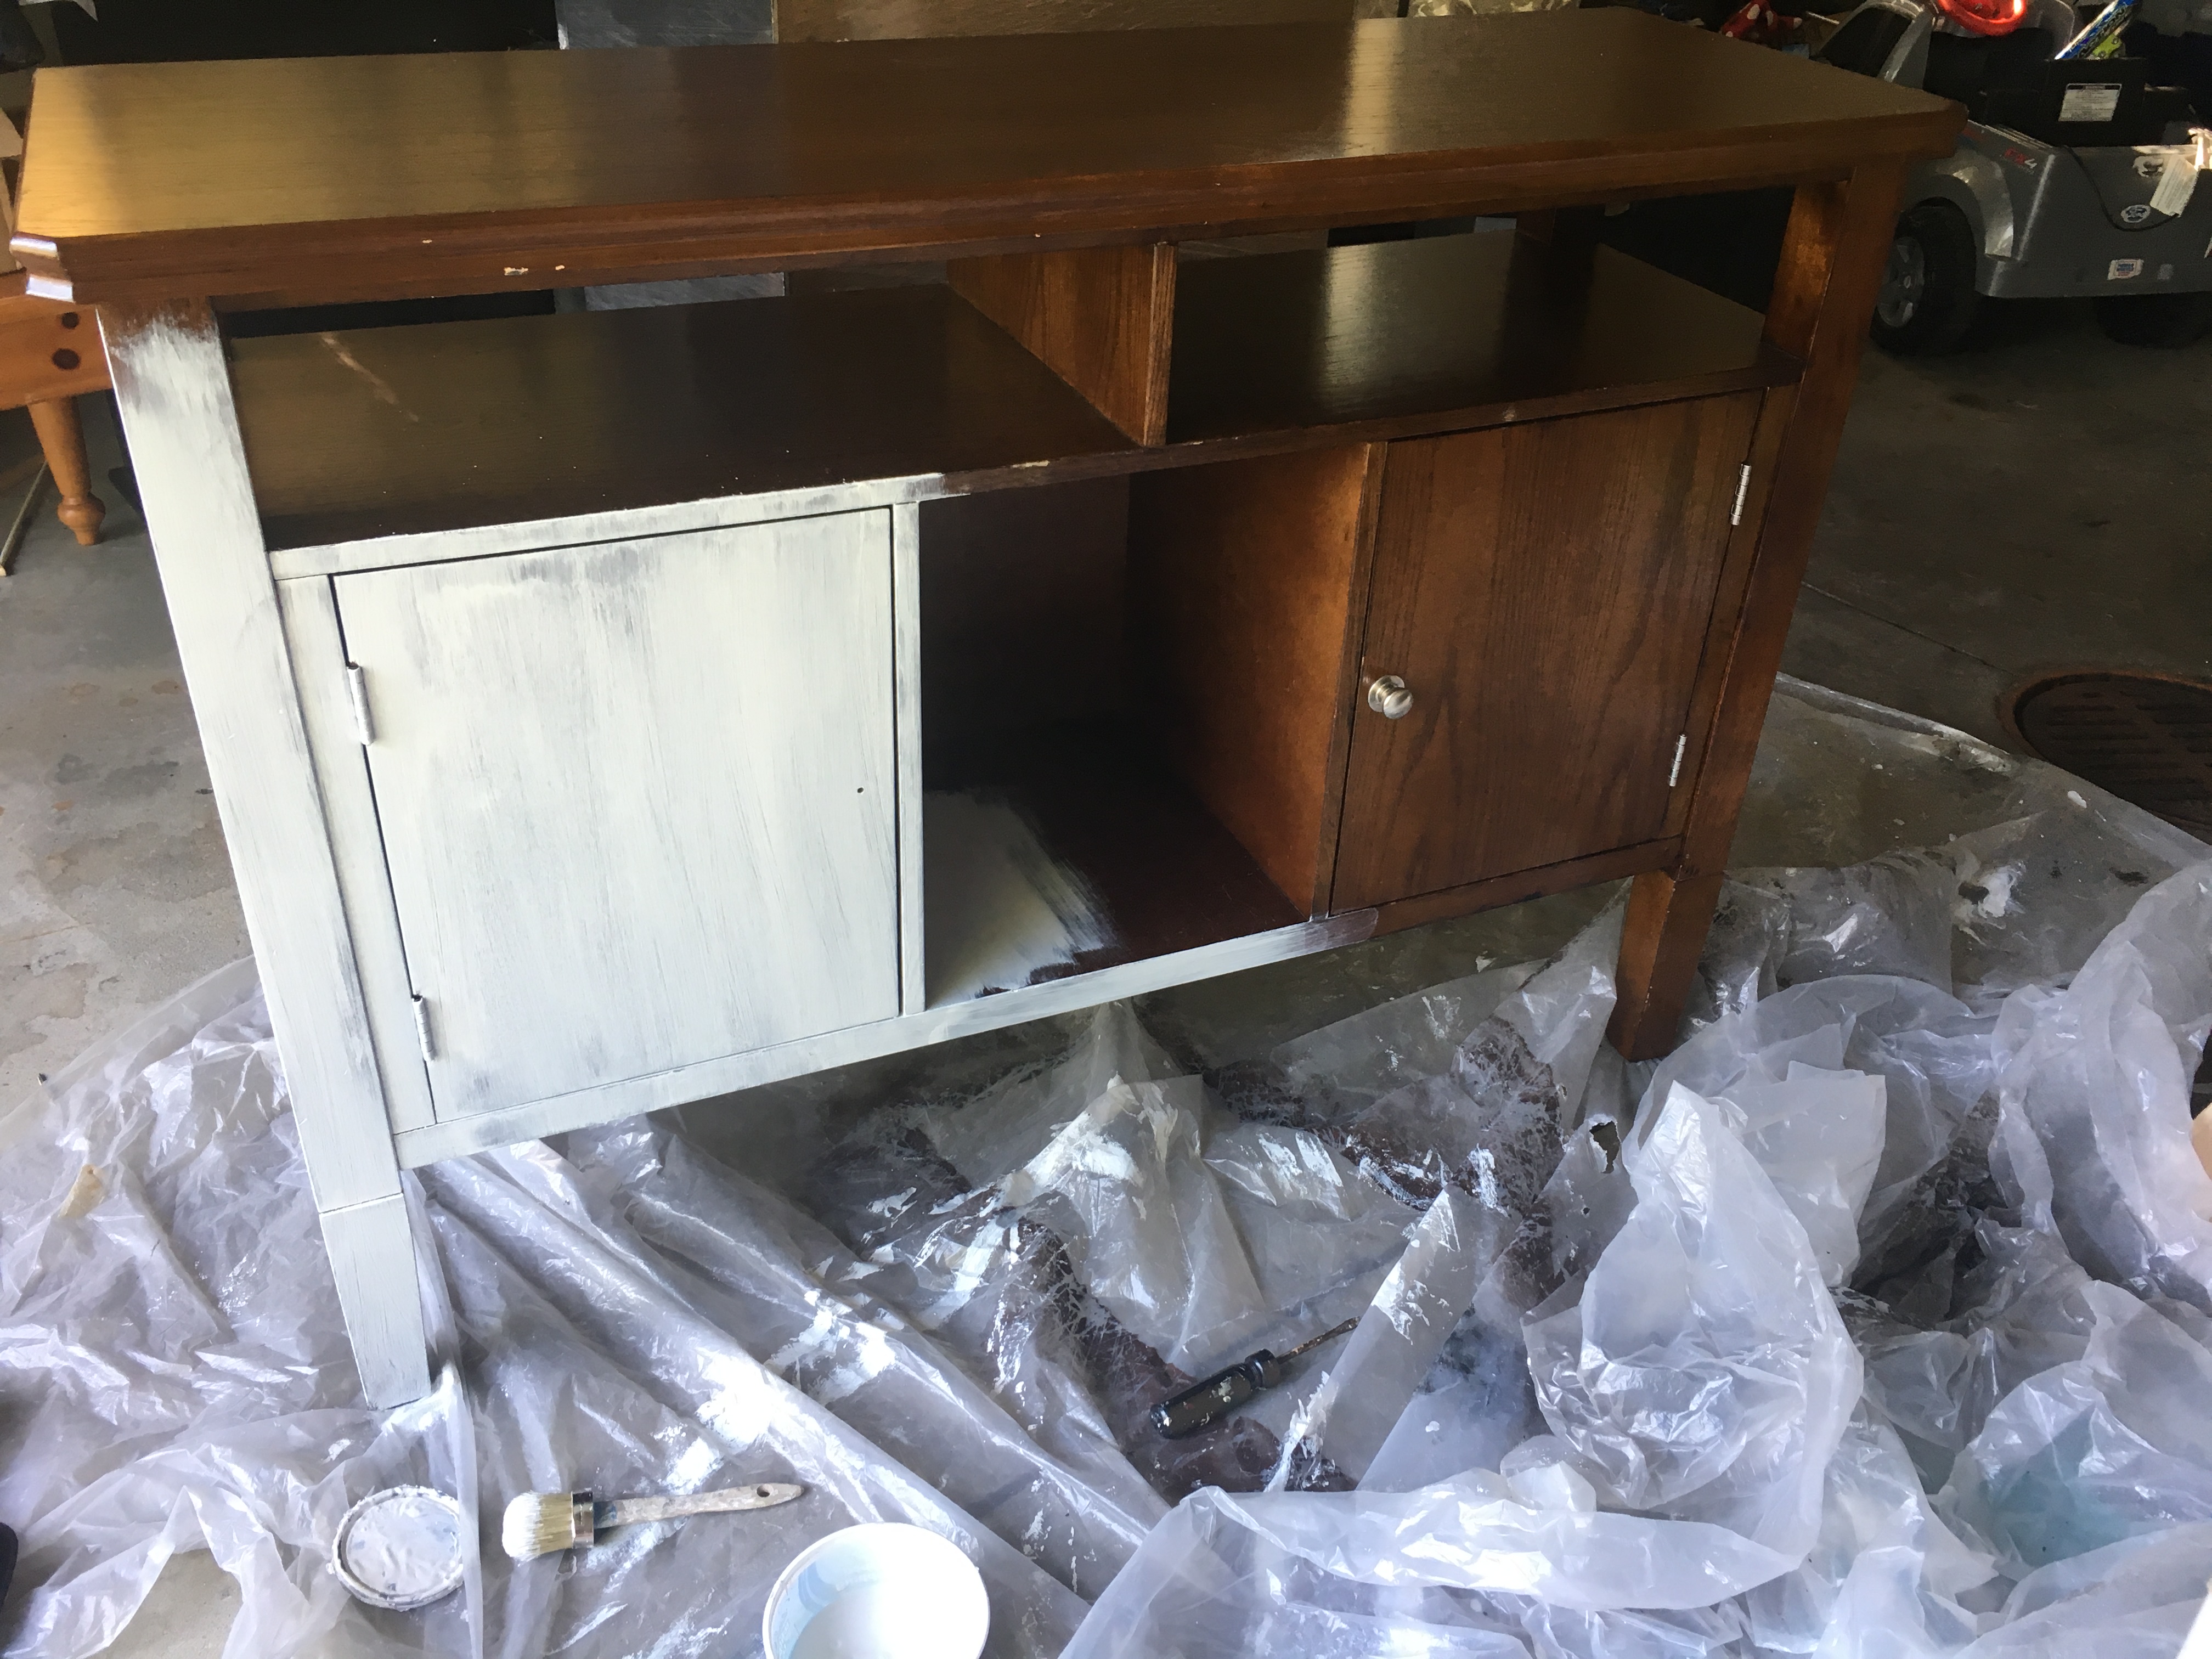
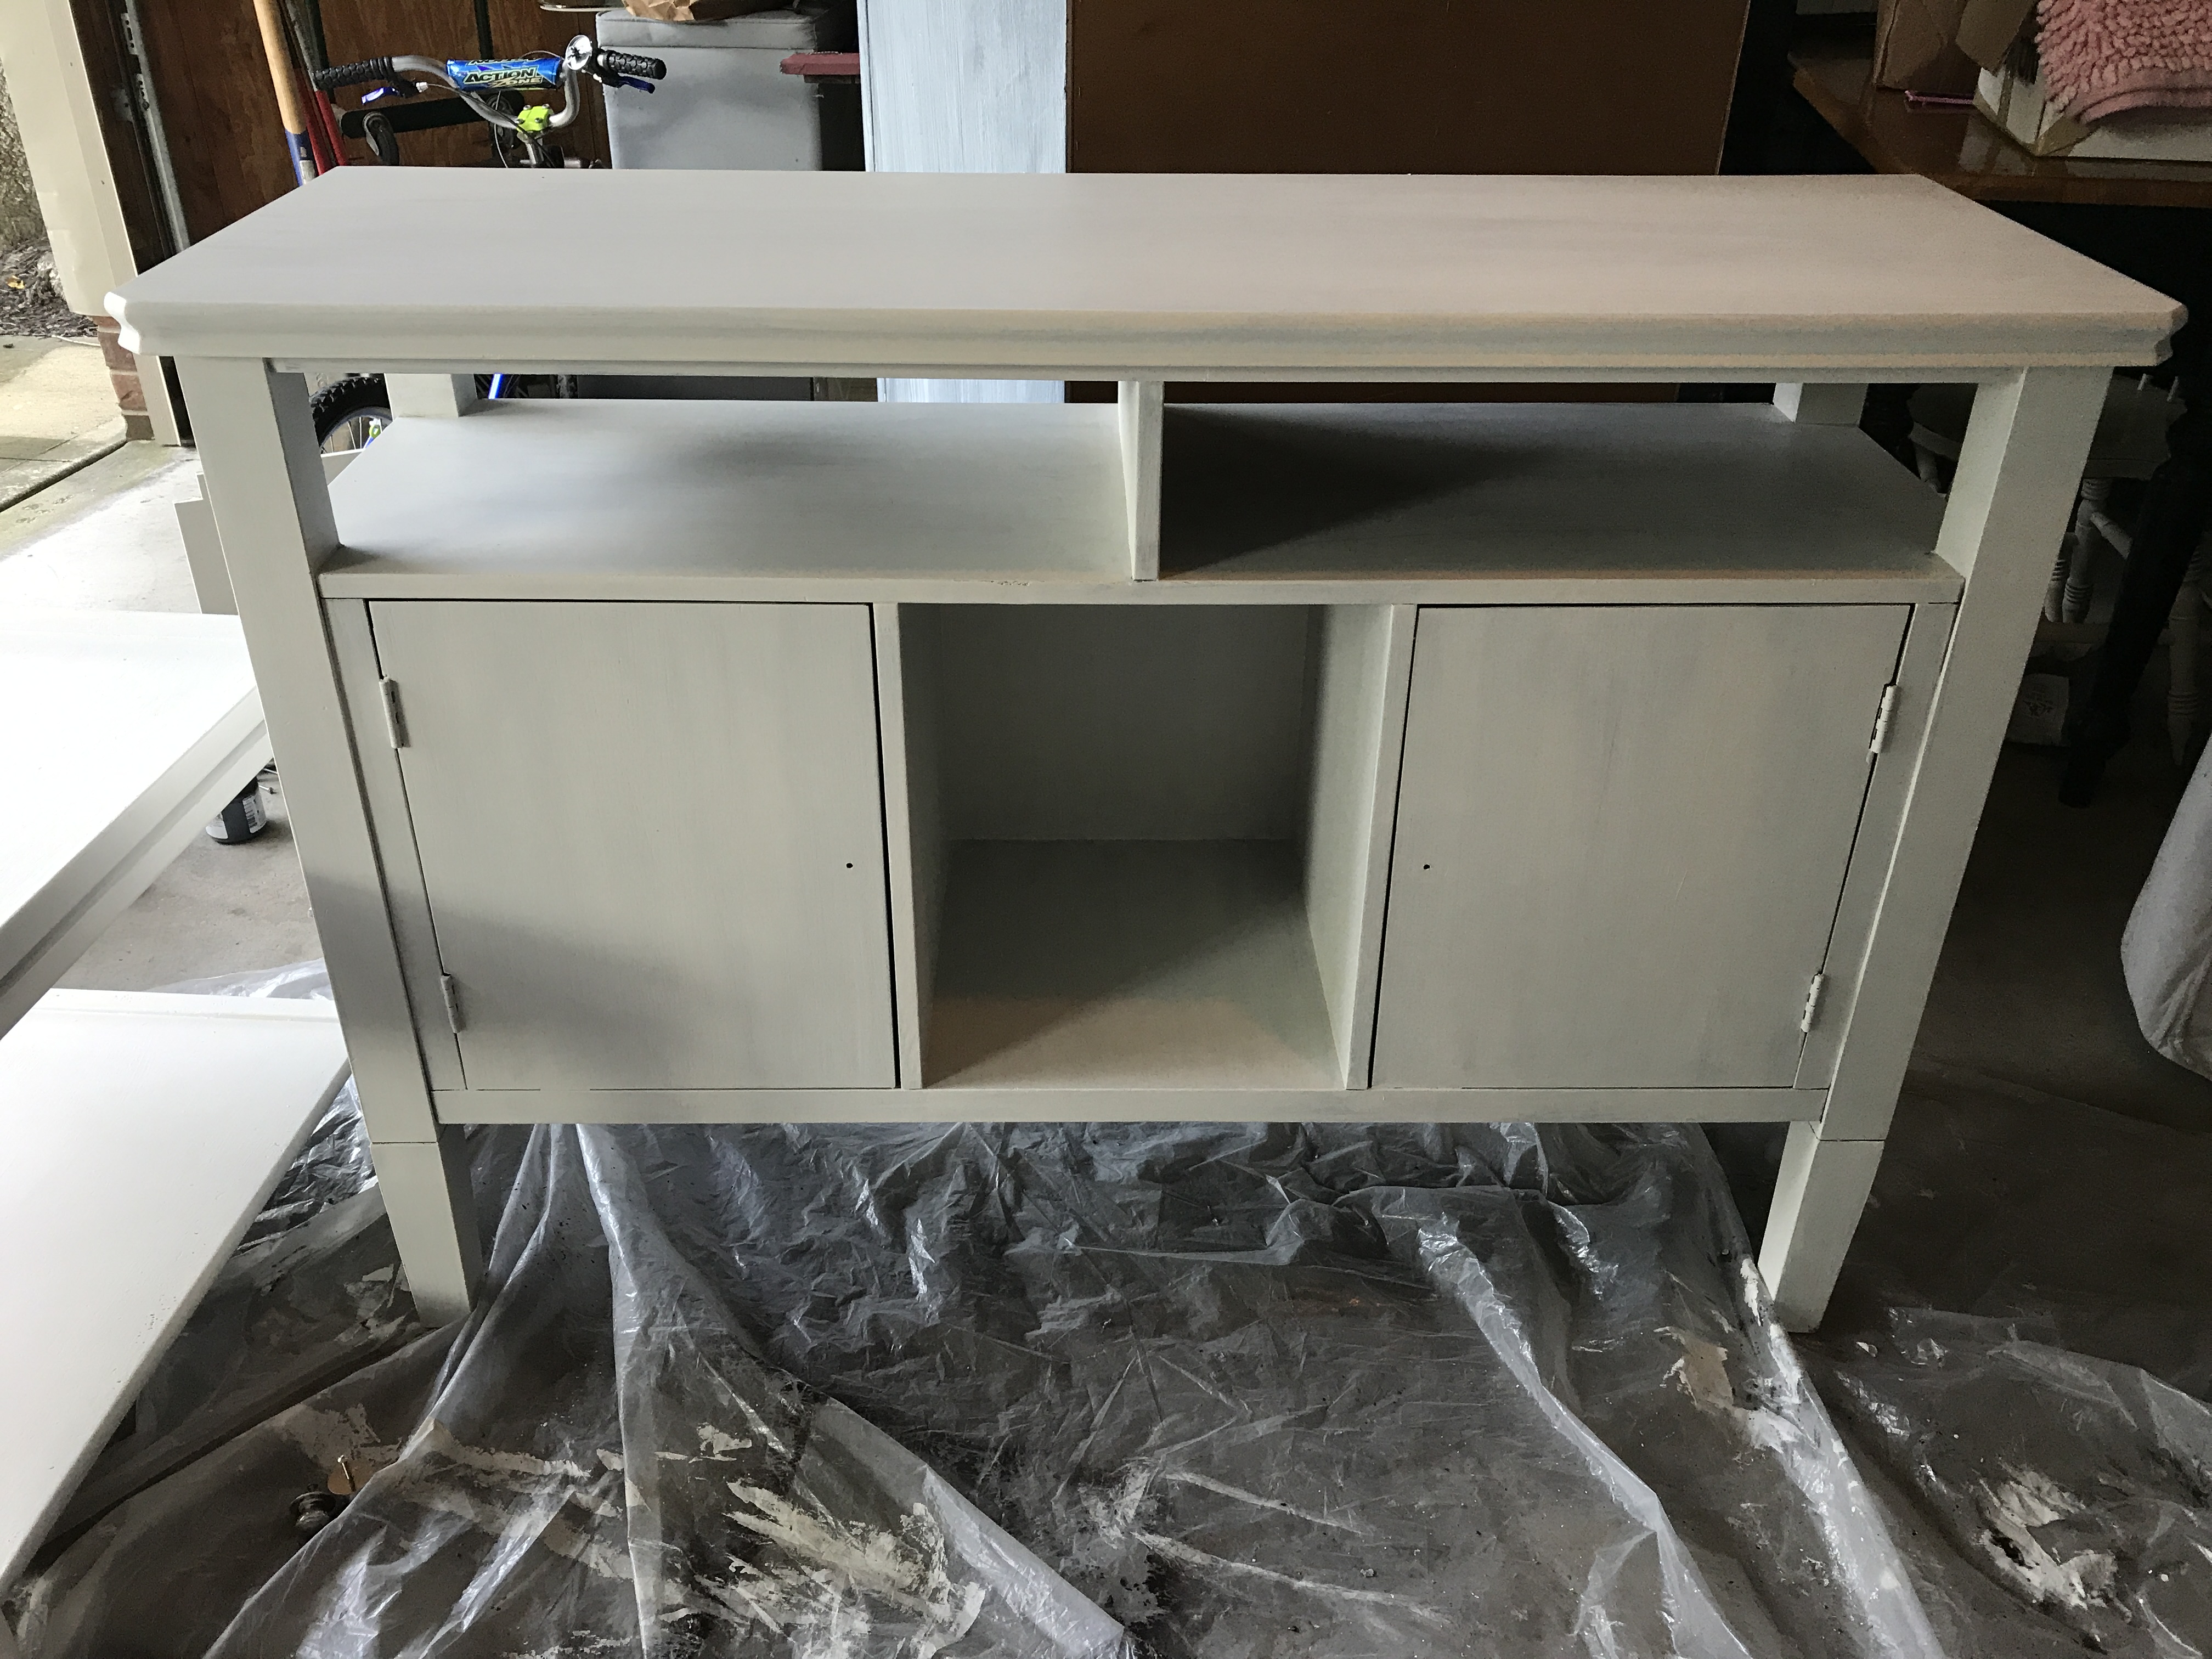
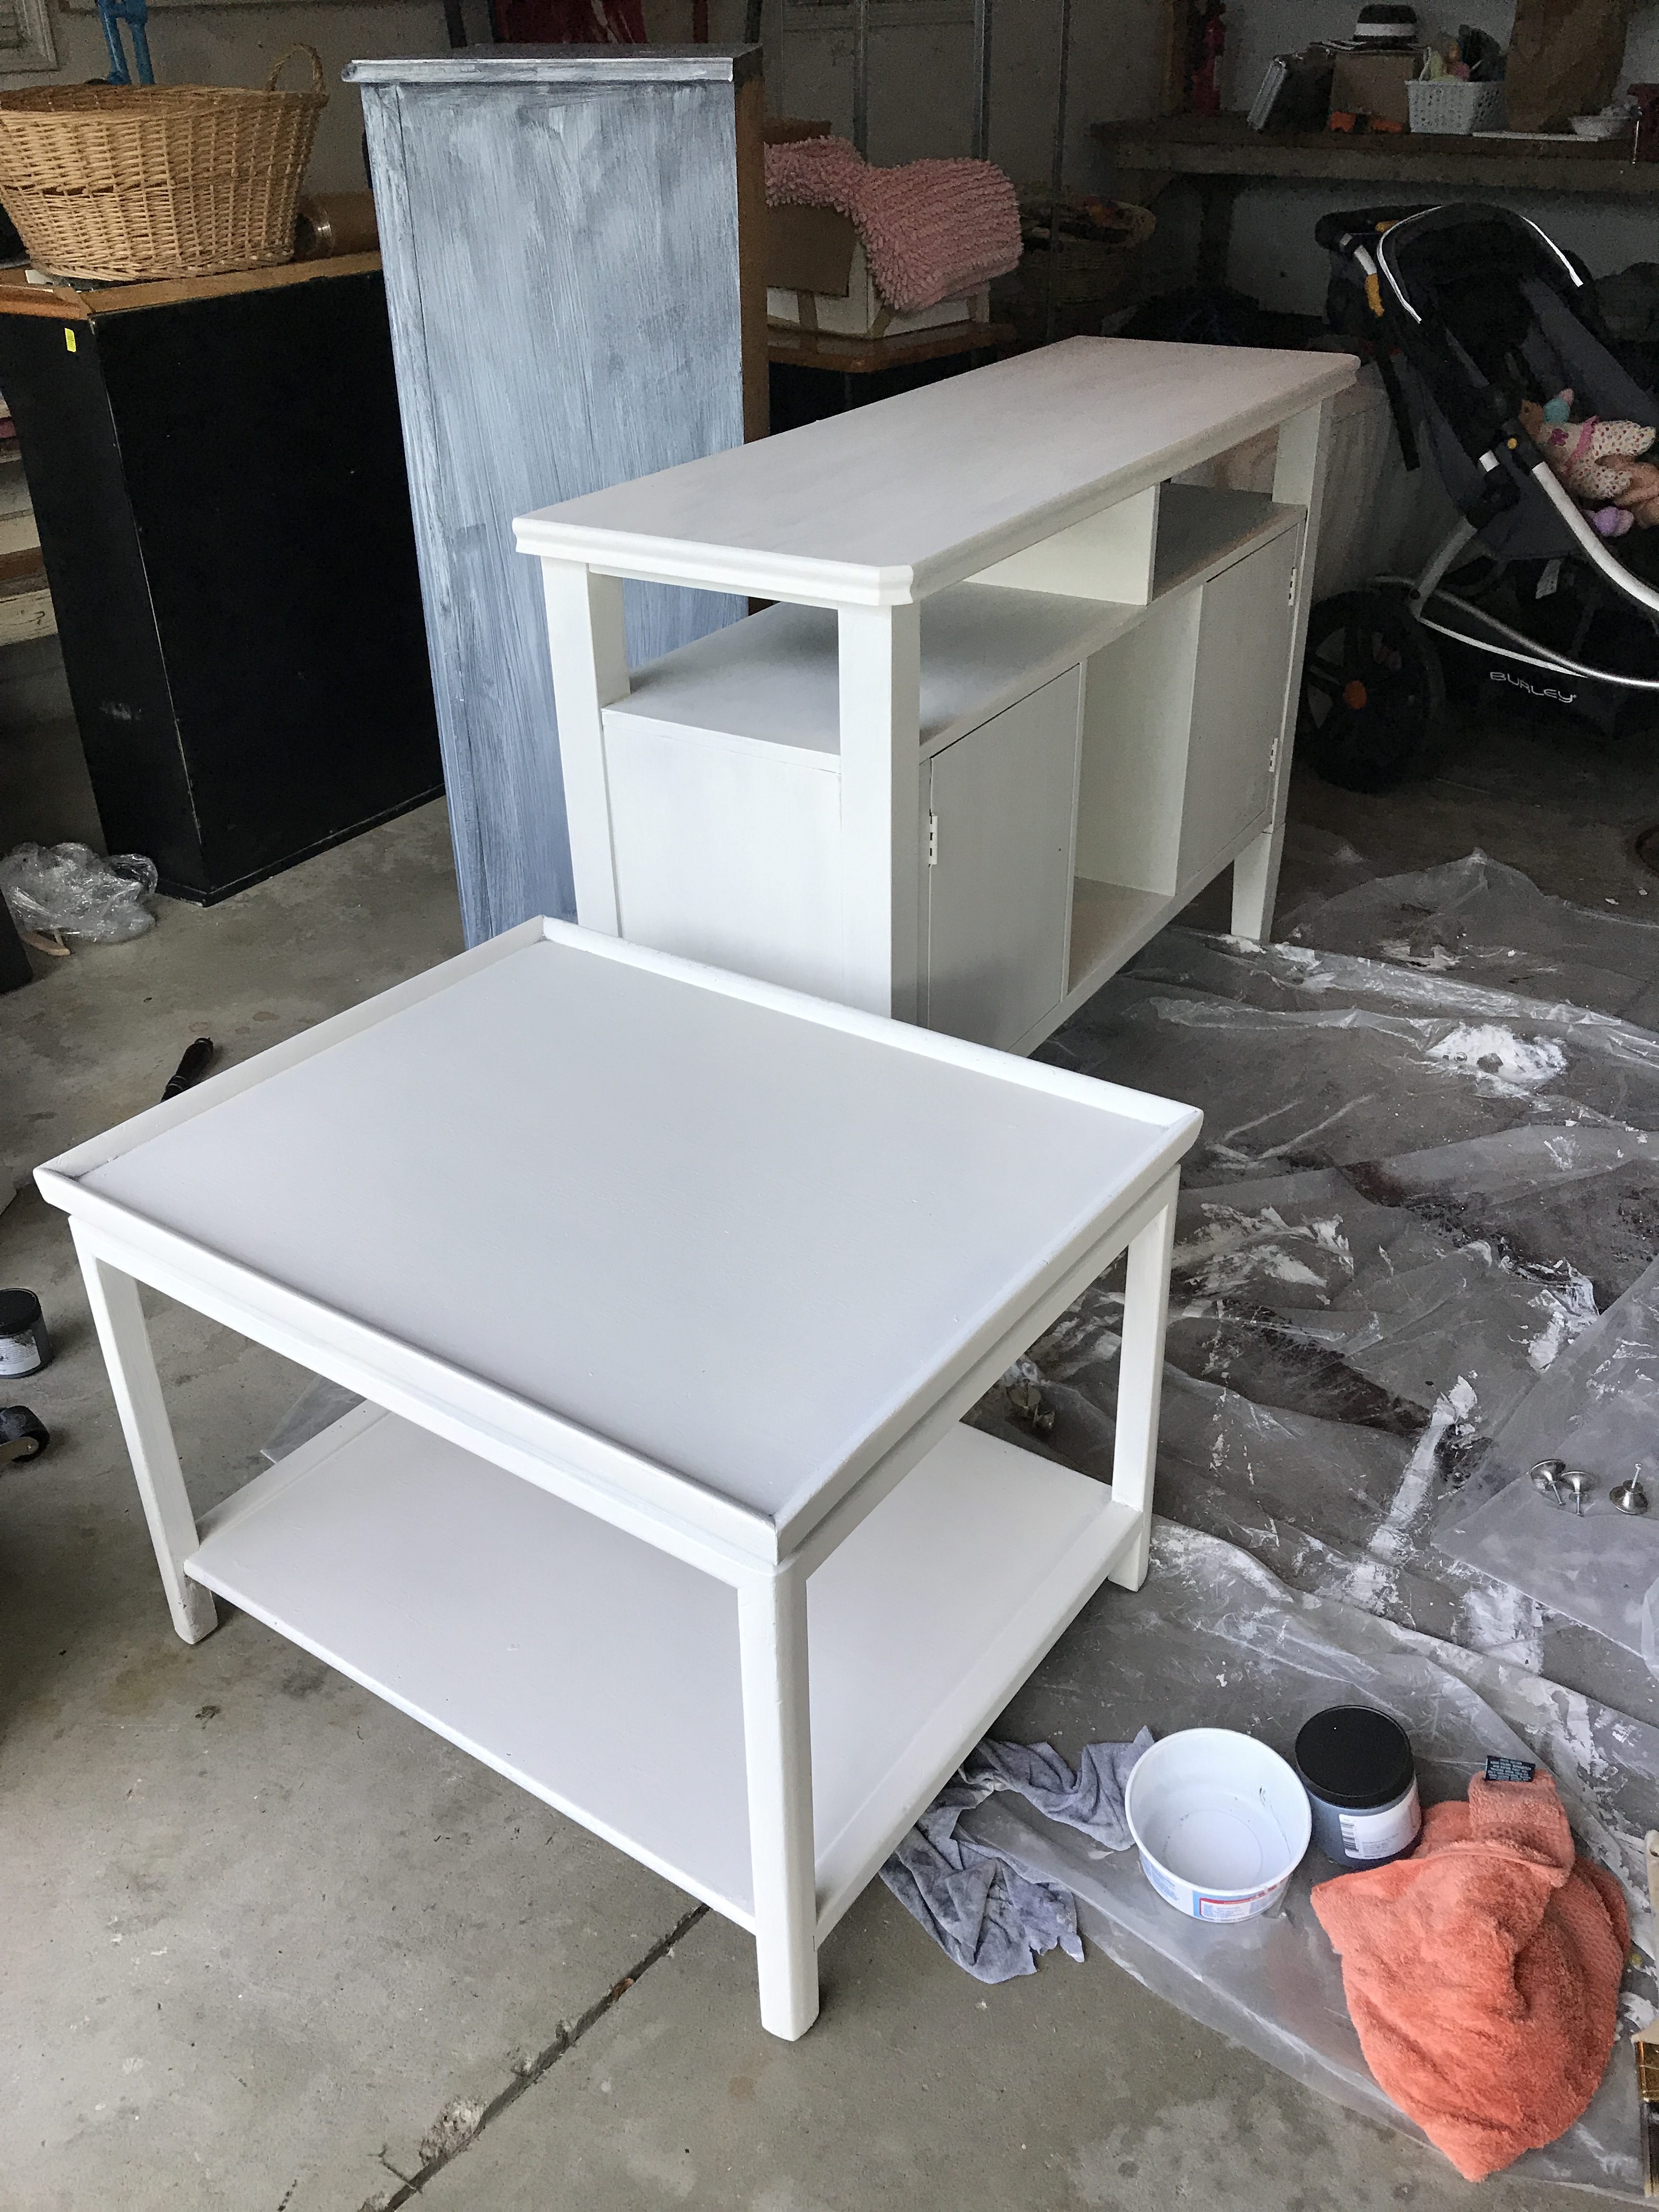
So first up, these pieces. Which I will openly admit I picked off the curb a few doors down from my parents house. We didn’t even know the desk was a desk until we opened it and were pleasantly surprised! So cute, right?! Well not yet…. but soon it would be…
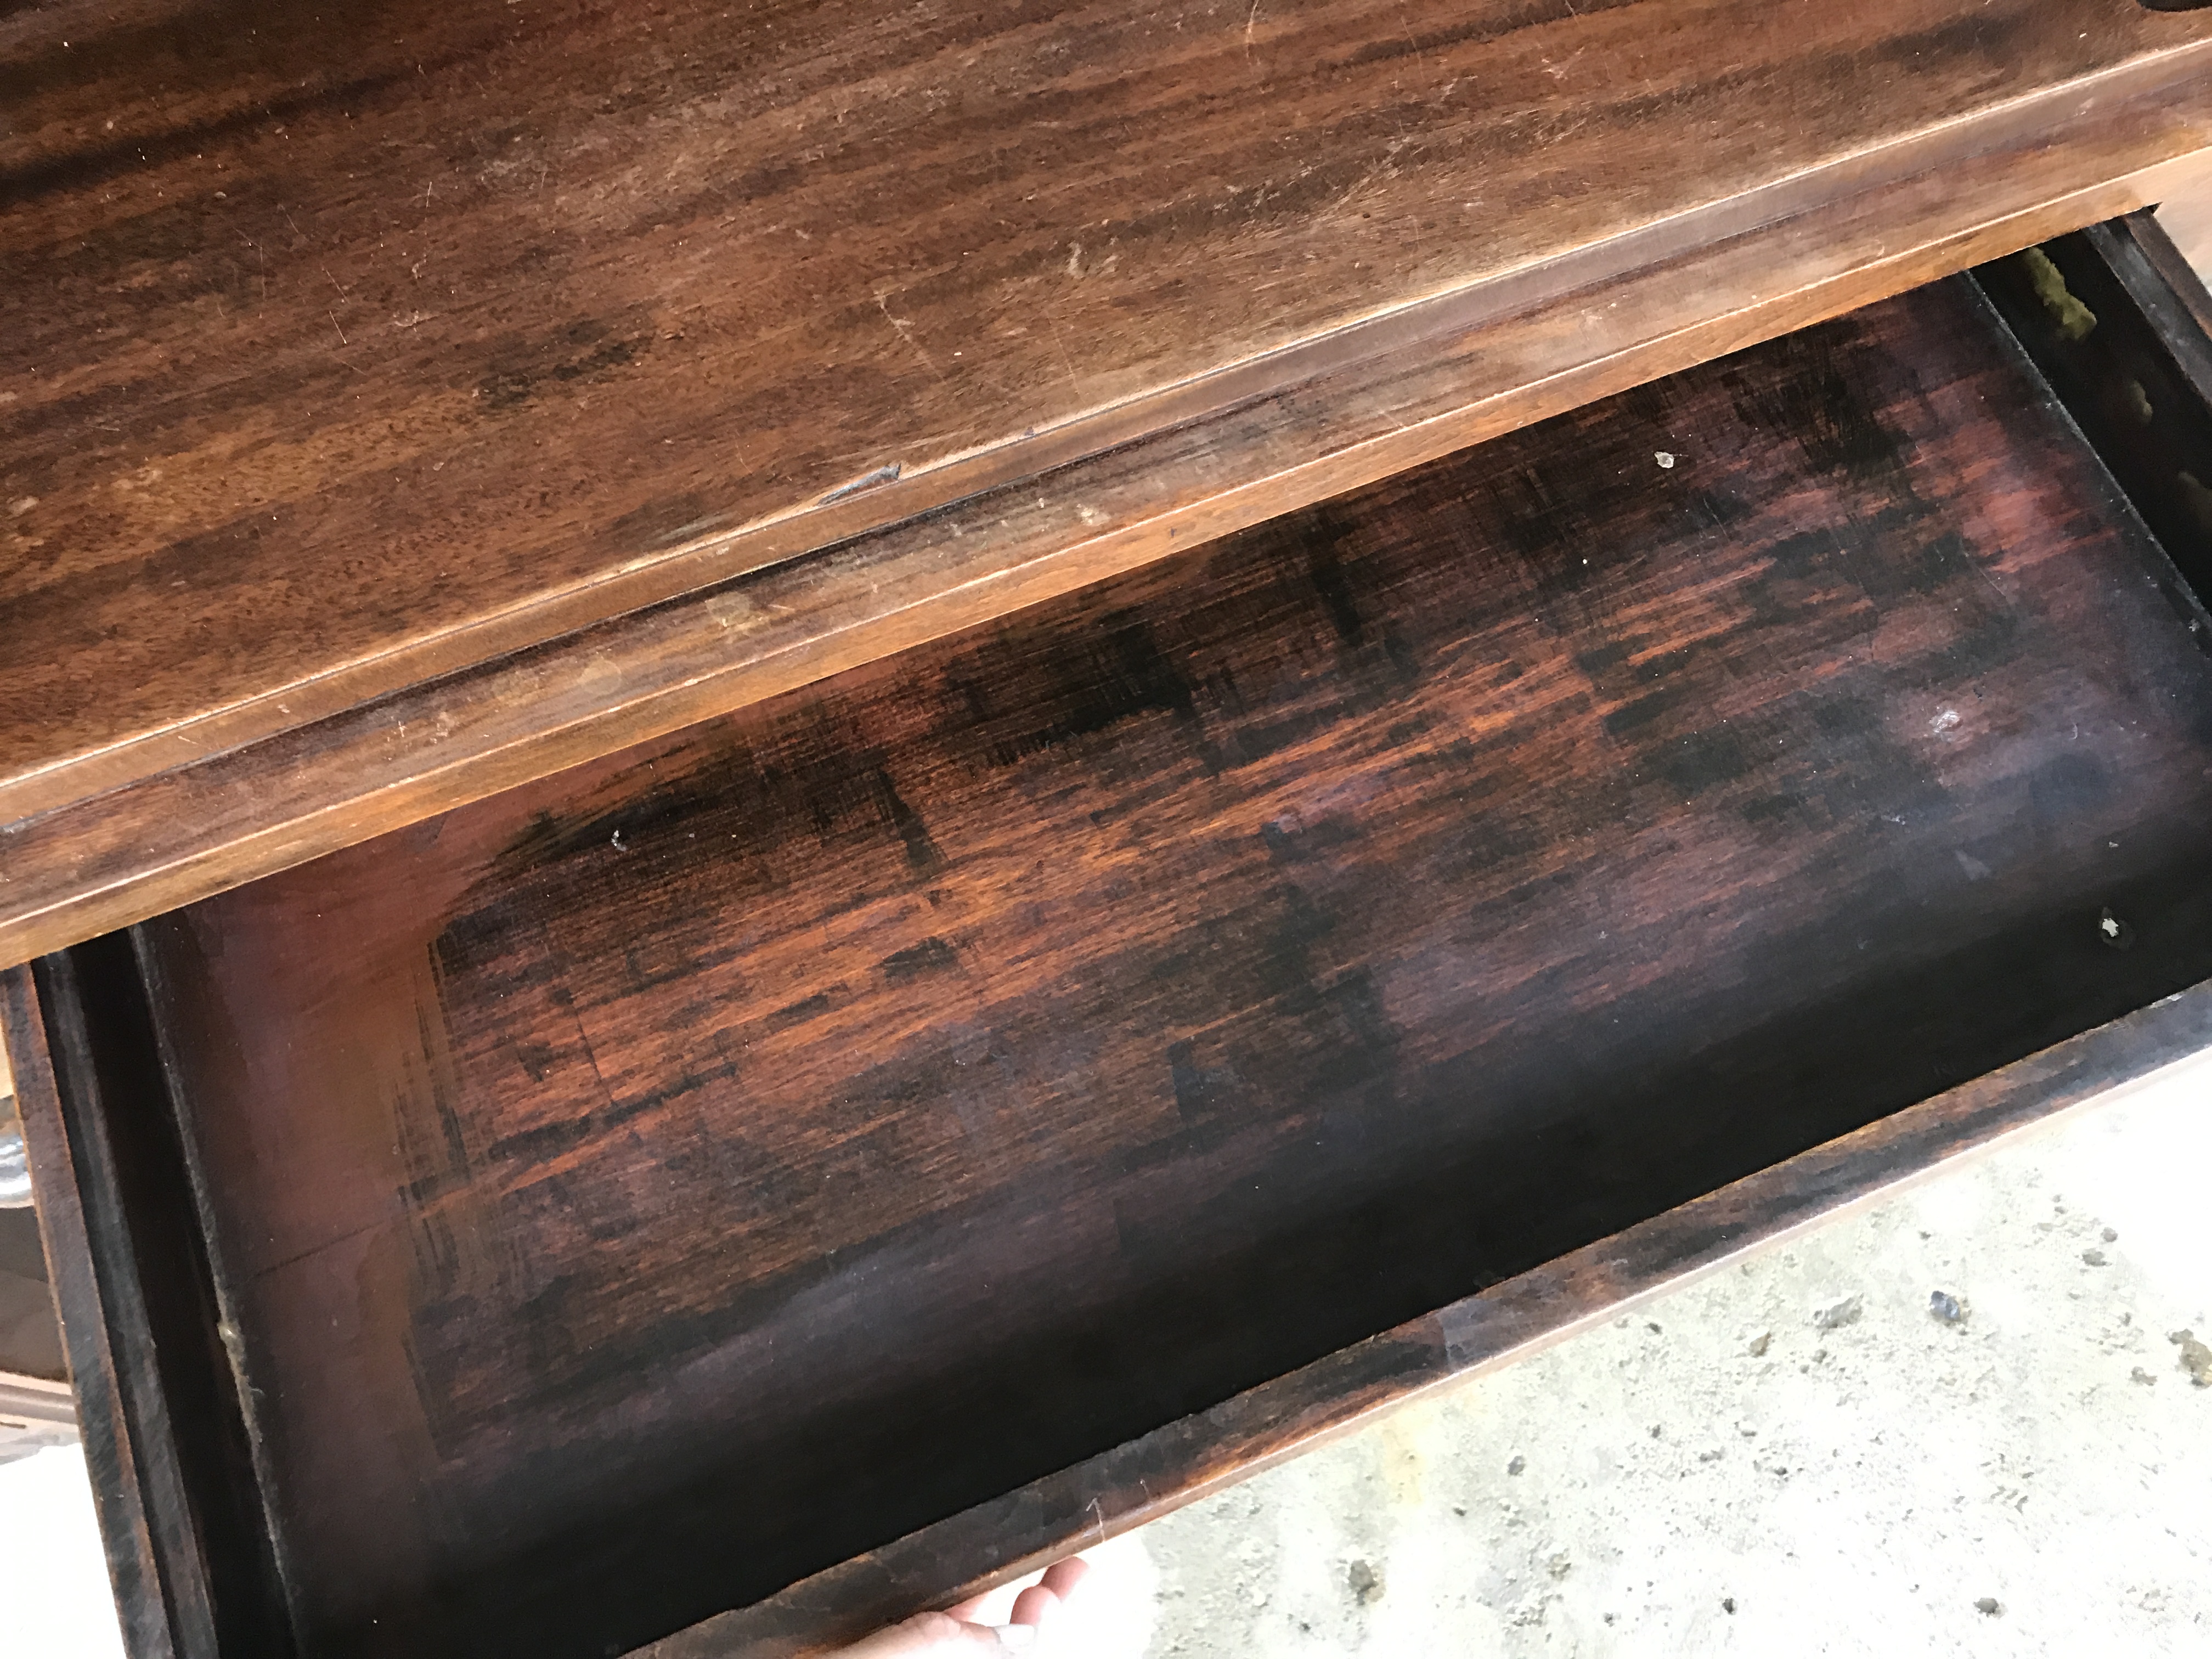
I did some research on Pinterest and loved the idea of doing the inside a different color. I knew I wanted my living room to be neutral so as much as I loved the idea of having a crazy color on the inside, I knew this was the best way to make it work in my space. And I LOVE how it came out!
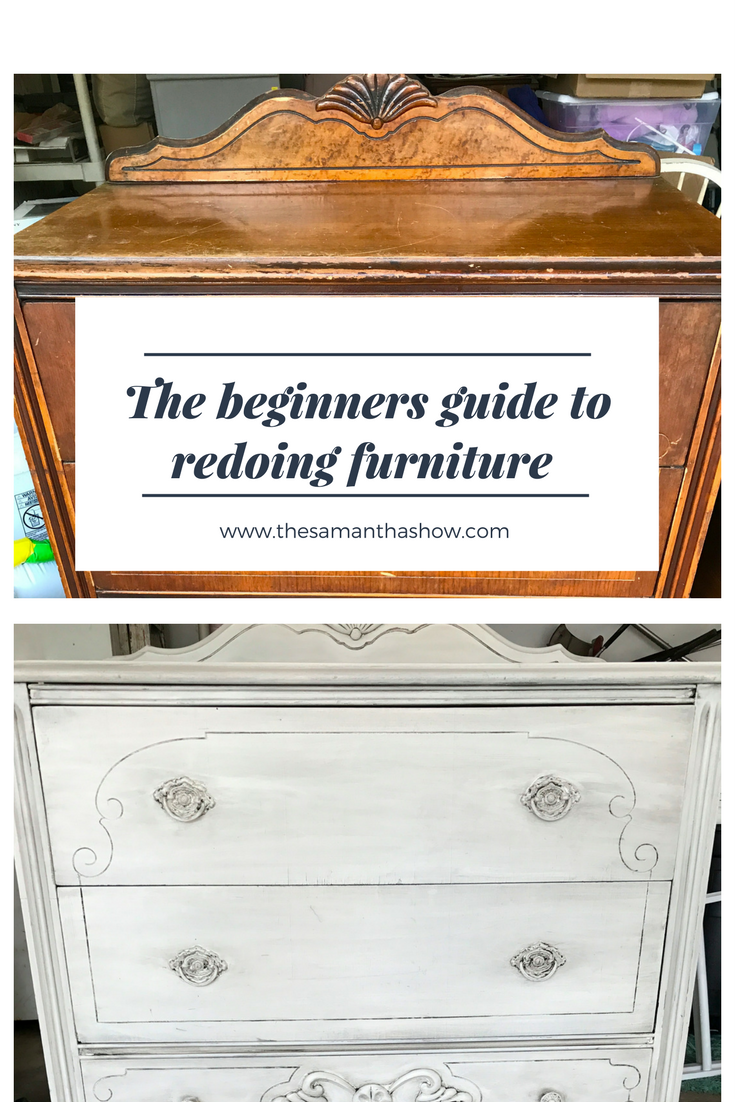
Beginner’s guide to redoing furniture:
- Wipe it down with water and a rag. I used soap and apparently that’s a big no-no. But it smelled like…old people… so it had to be done.
- Sand any crazy rough looking spots. I sanded a few spots where there were dents or names carved into the wood but the paint I used acts sort of as a wood filler too so I didn’t go crazy with this.
- Prime it. I didn’t do it on the first few pieces I redid but after talking with the expert at the store where I get my paint, he sold me on it. It really does make such a difference and makes the space an even playing field.
- Start painting. Long strokes, people. Make sure you’re covering but don’t cake it on. For this particular piece above, I painted the black first and then went on the inside to do the white color. It’s not perfect because it was freaking hard to get up in there but I love how it came out. I only did one coat on the outside but the white needed two coats. Depending on the piece or color you’re using, you may need to do two coats. Let it dry at least 24 hours between coats.
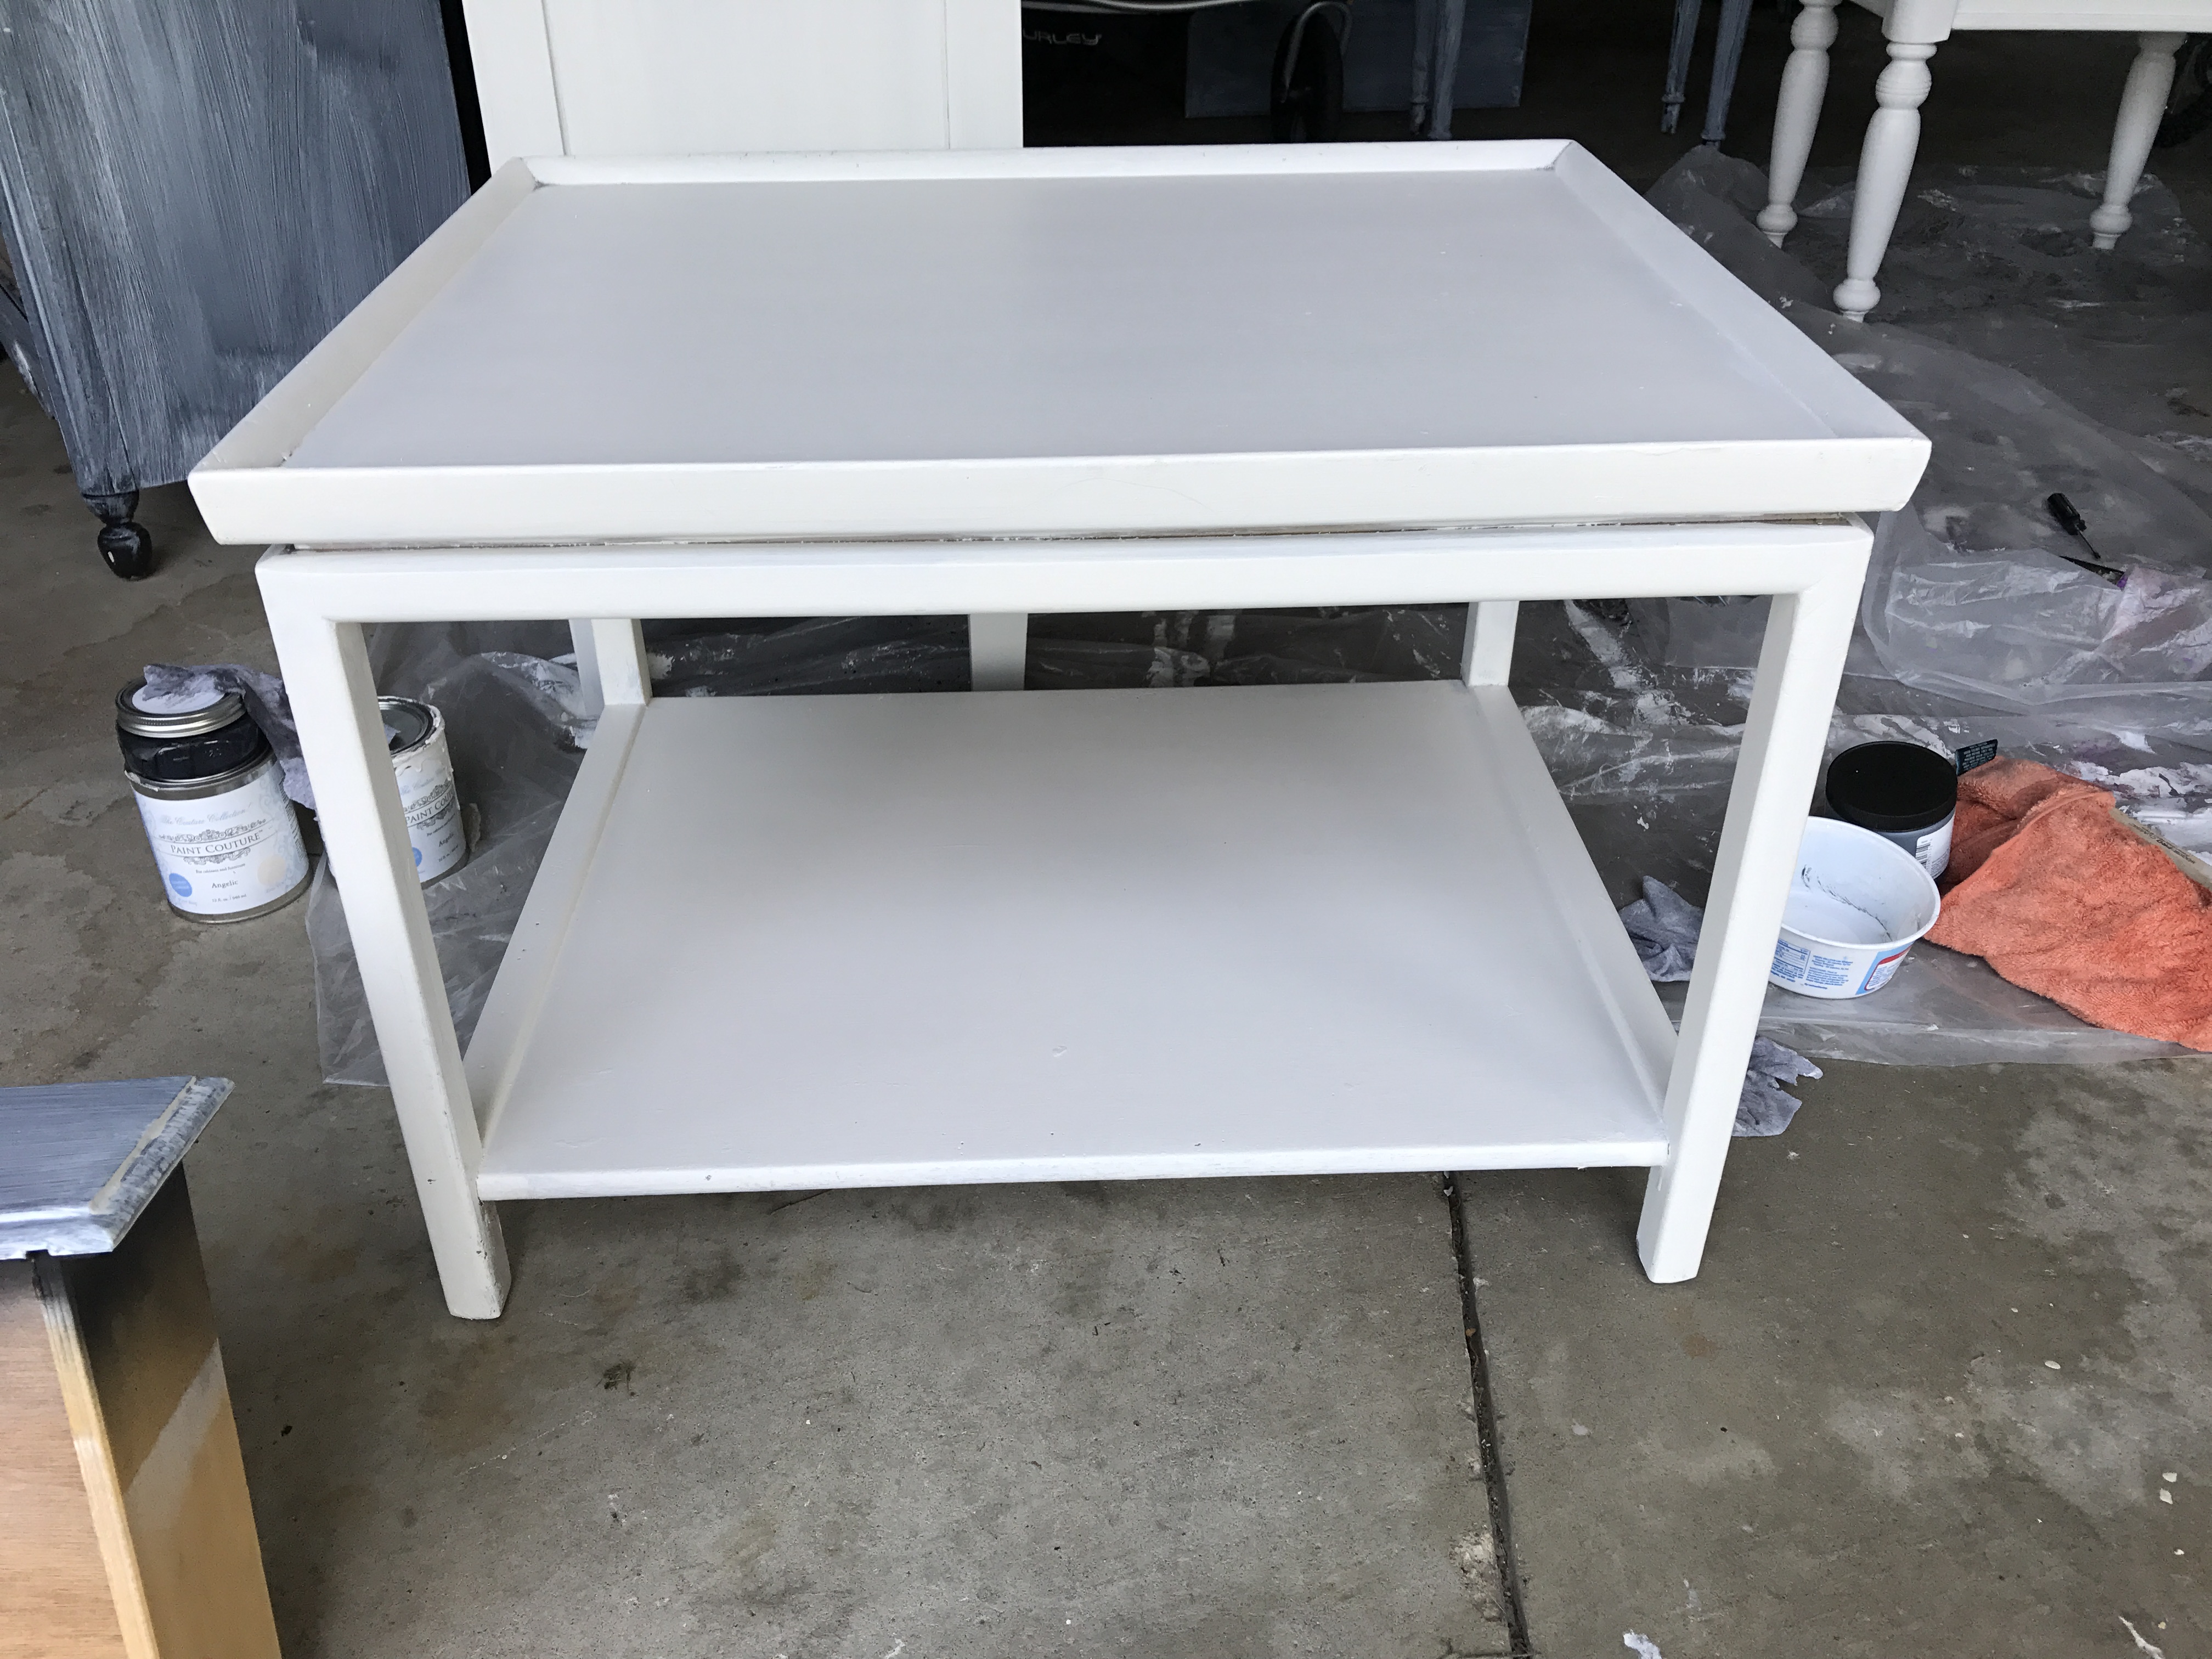
- Glaze it.*** This works best on light colors so I didn’t glaze the piece below. But as you’ll, on pieces where I used the Angelic (white color), I used a Black Chiffon glaze so that it looked gray. Glaze also goes on with a brush but then comes off… see below for more details. Let this dry for at least 4 hours.
- Top coat. Again, I didn’t do this on my first few pieces because I thought the glaze would suffice as a top coat. But the pro recommended this to keep it from chipping and as a barrier, especially if things were going to be sitting on it. He also recommended waiting 24 hours before putting anything on top of the piece.
***Tricks to applying the glaze: put it on and wipe it off IMMEDIATELY. The longer it sits, the darker it gets. (Didn’t even mean to rhyme but hopefully that helps you remember!)
So what do you wipe it off with? I was using scraps of t-shirts but the expert recommended terry cloths.
The best tip I can give you is to make sure you are wiping in long swipes back and forth and flipping your cloth over so you’re not just putting the glaze back all over it.
Also, if you wet the rag a little (LIKE VERY LITTLE), it will make it smoother.
And last pro tip, if you find it’s too grainy looking/too many visible lines, move across the piece in small circular motions to get rid of the lines.

Paint used above: Paint Couture in Baltic Black and Angelic.
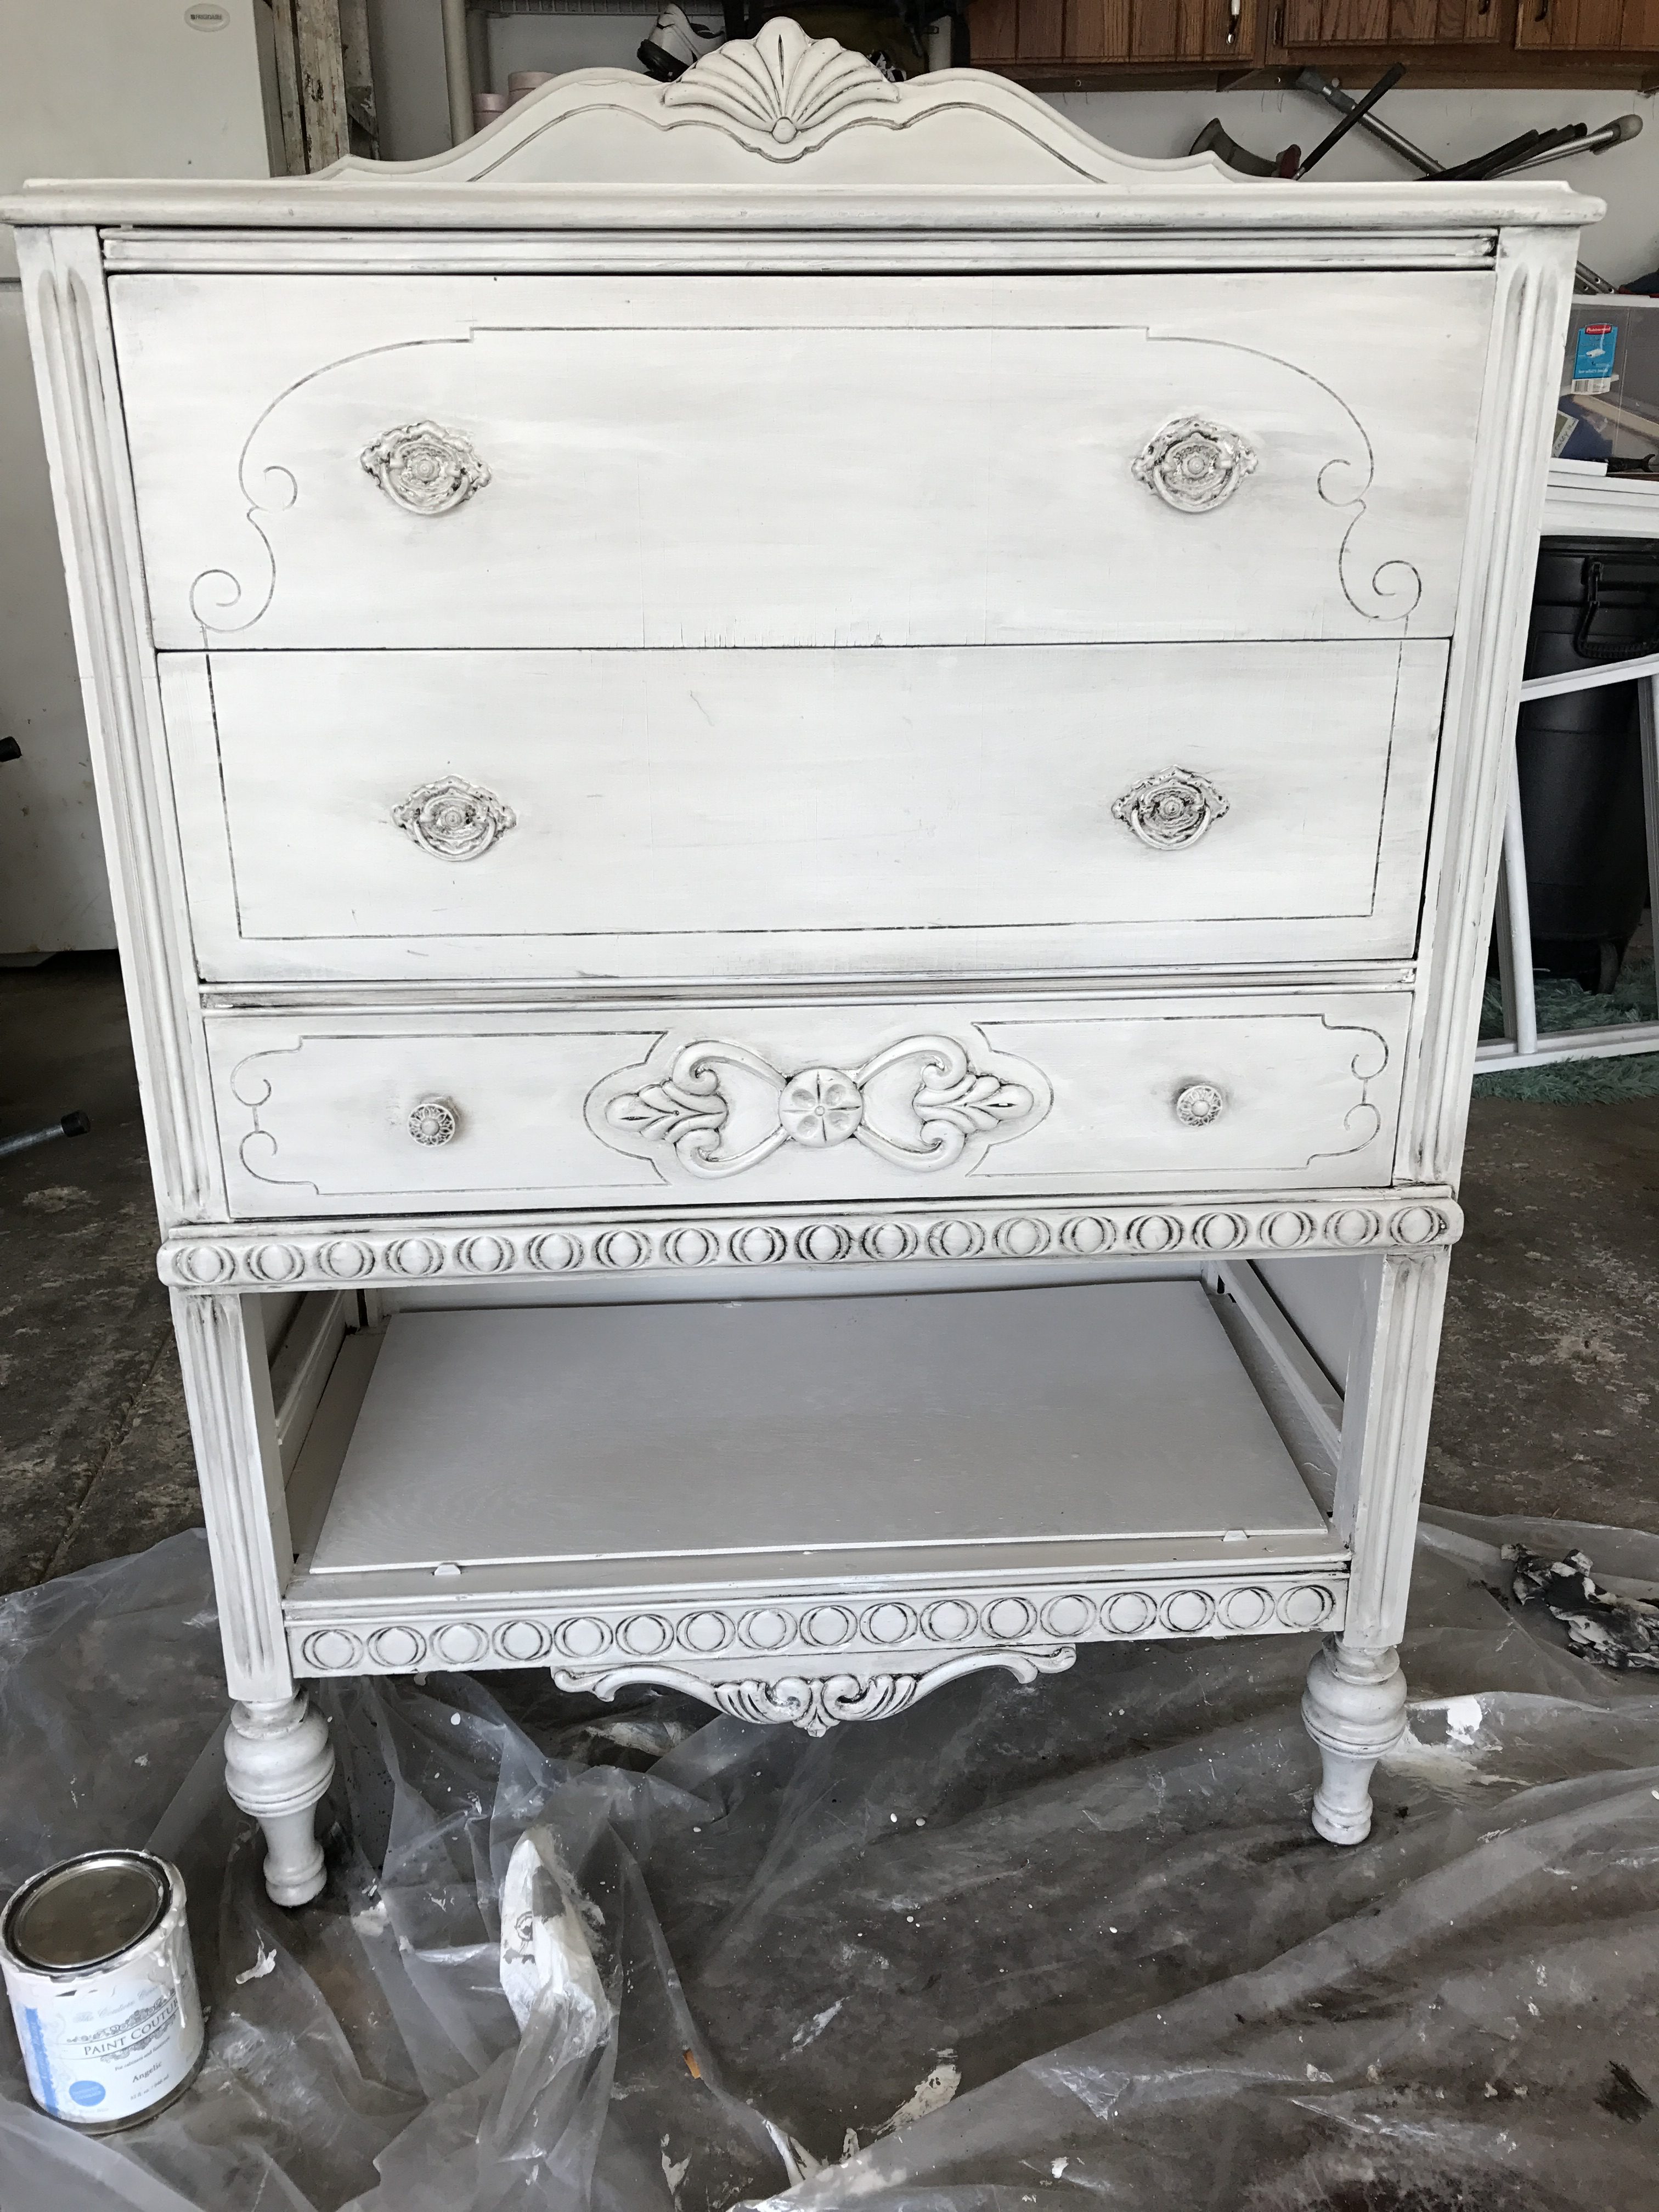
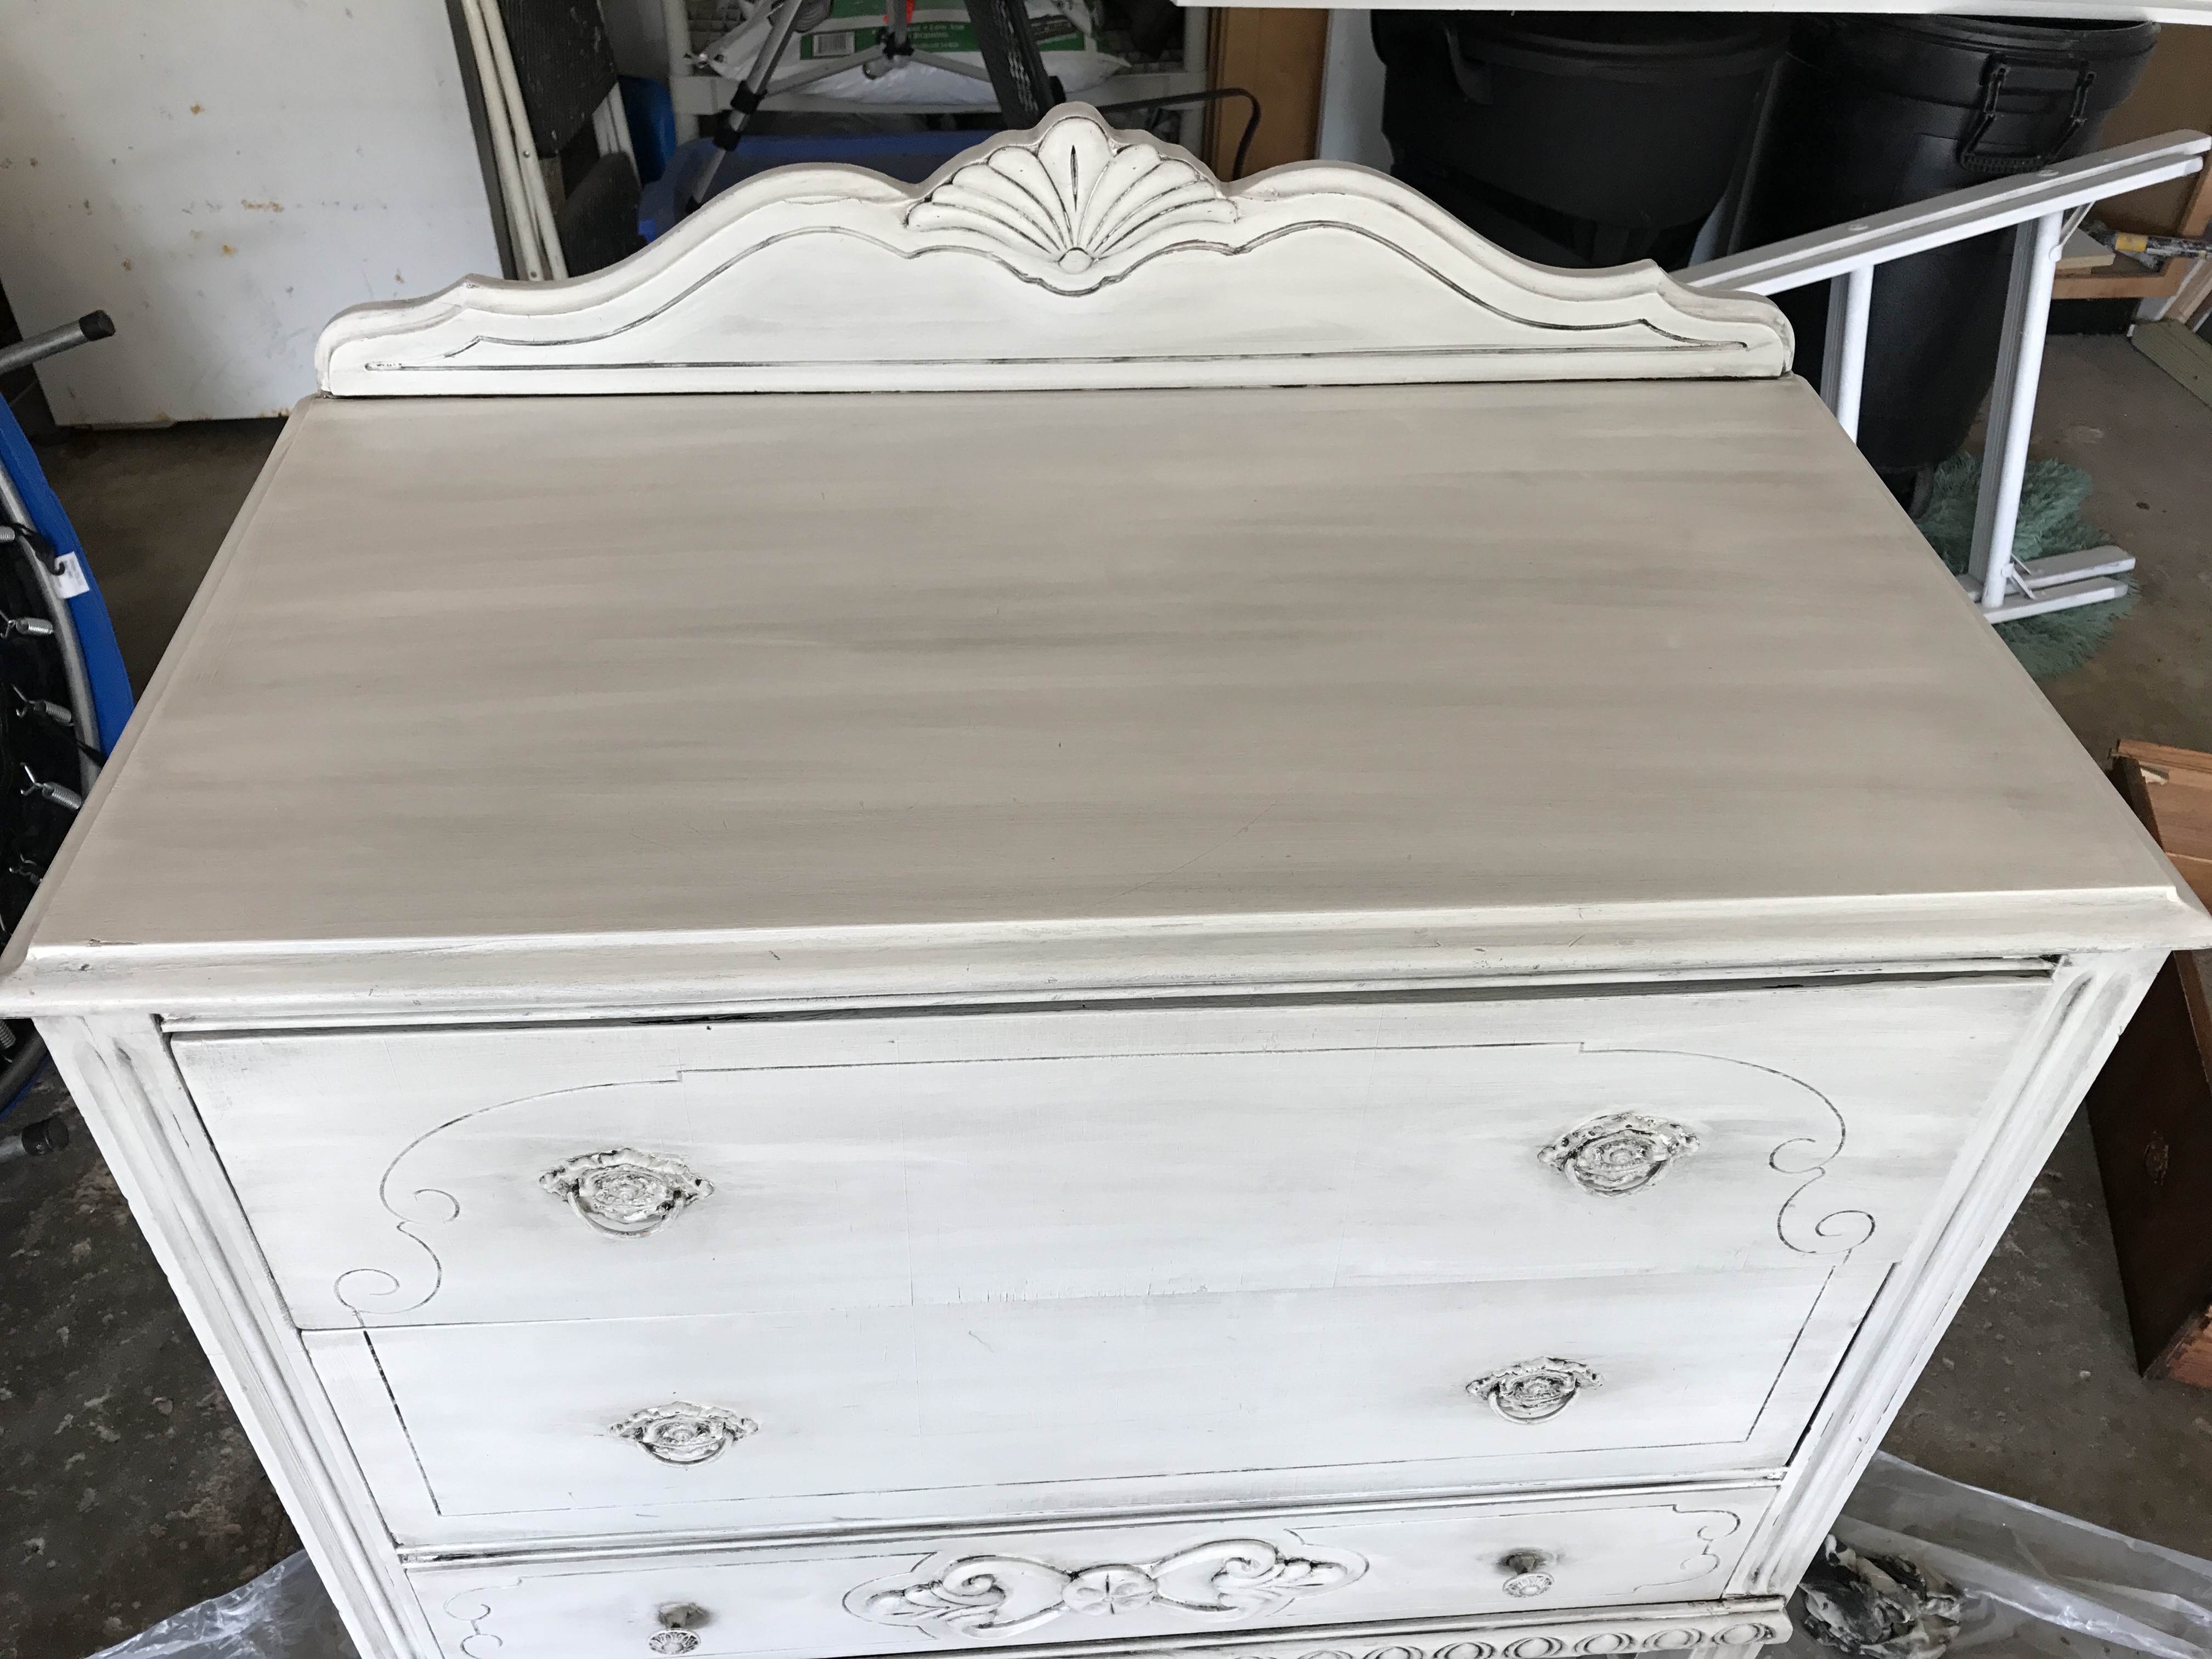
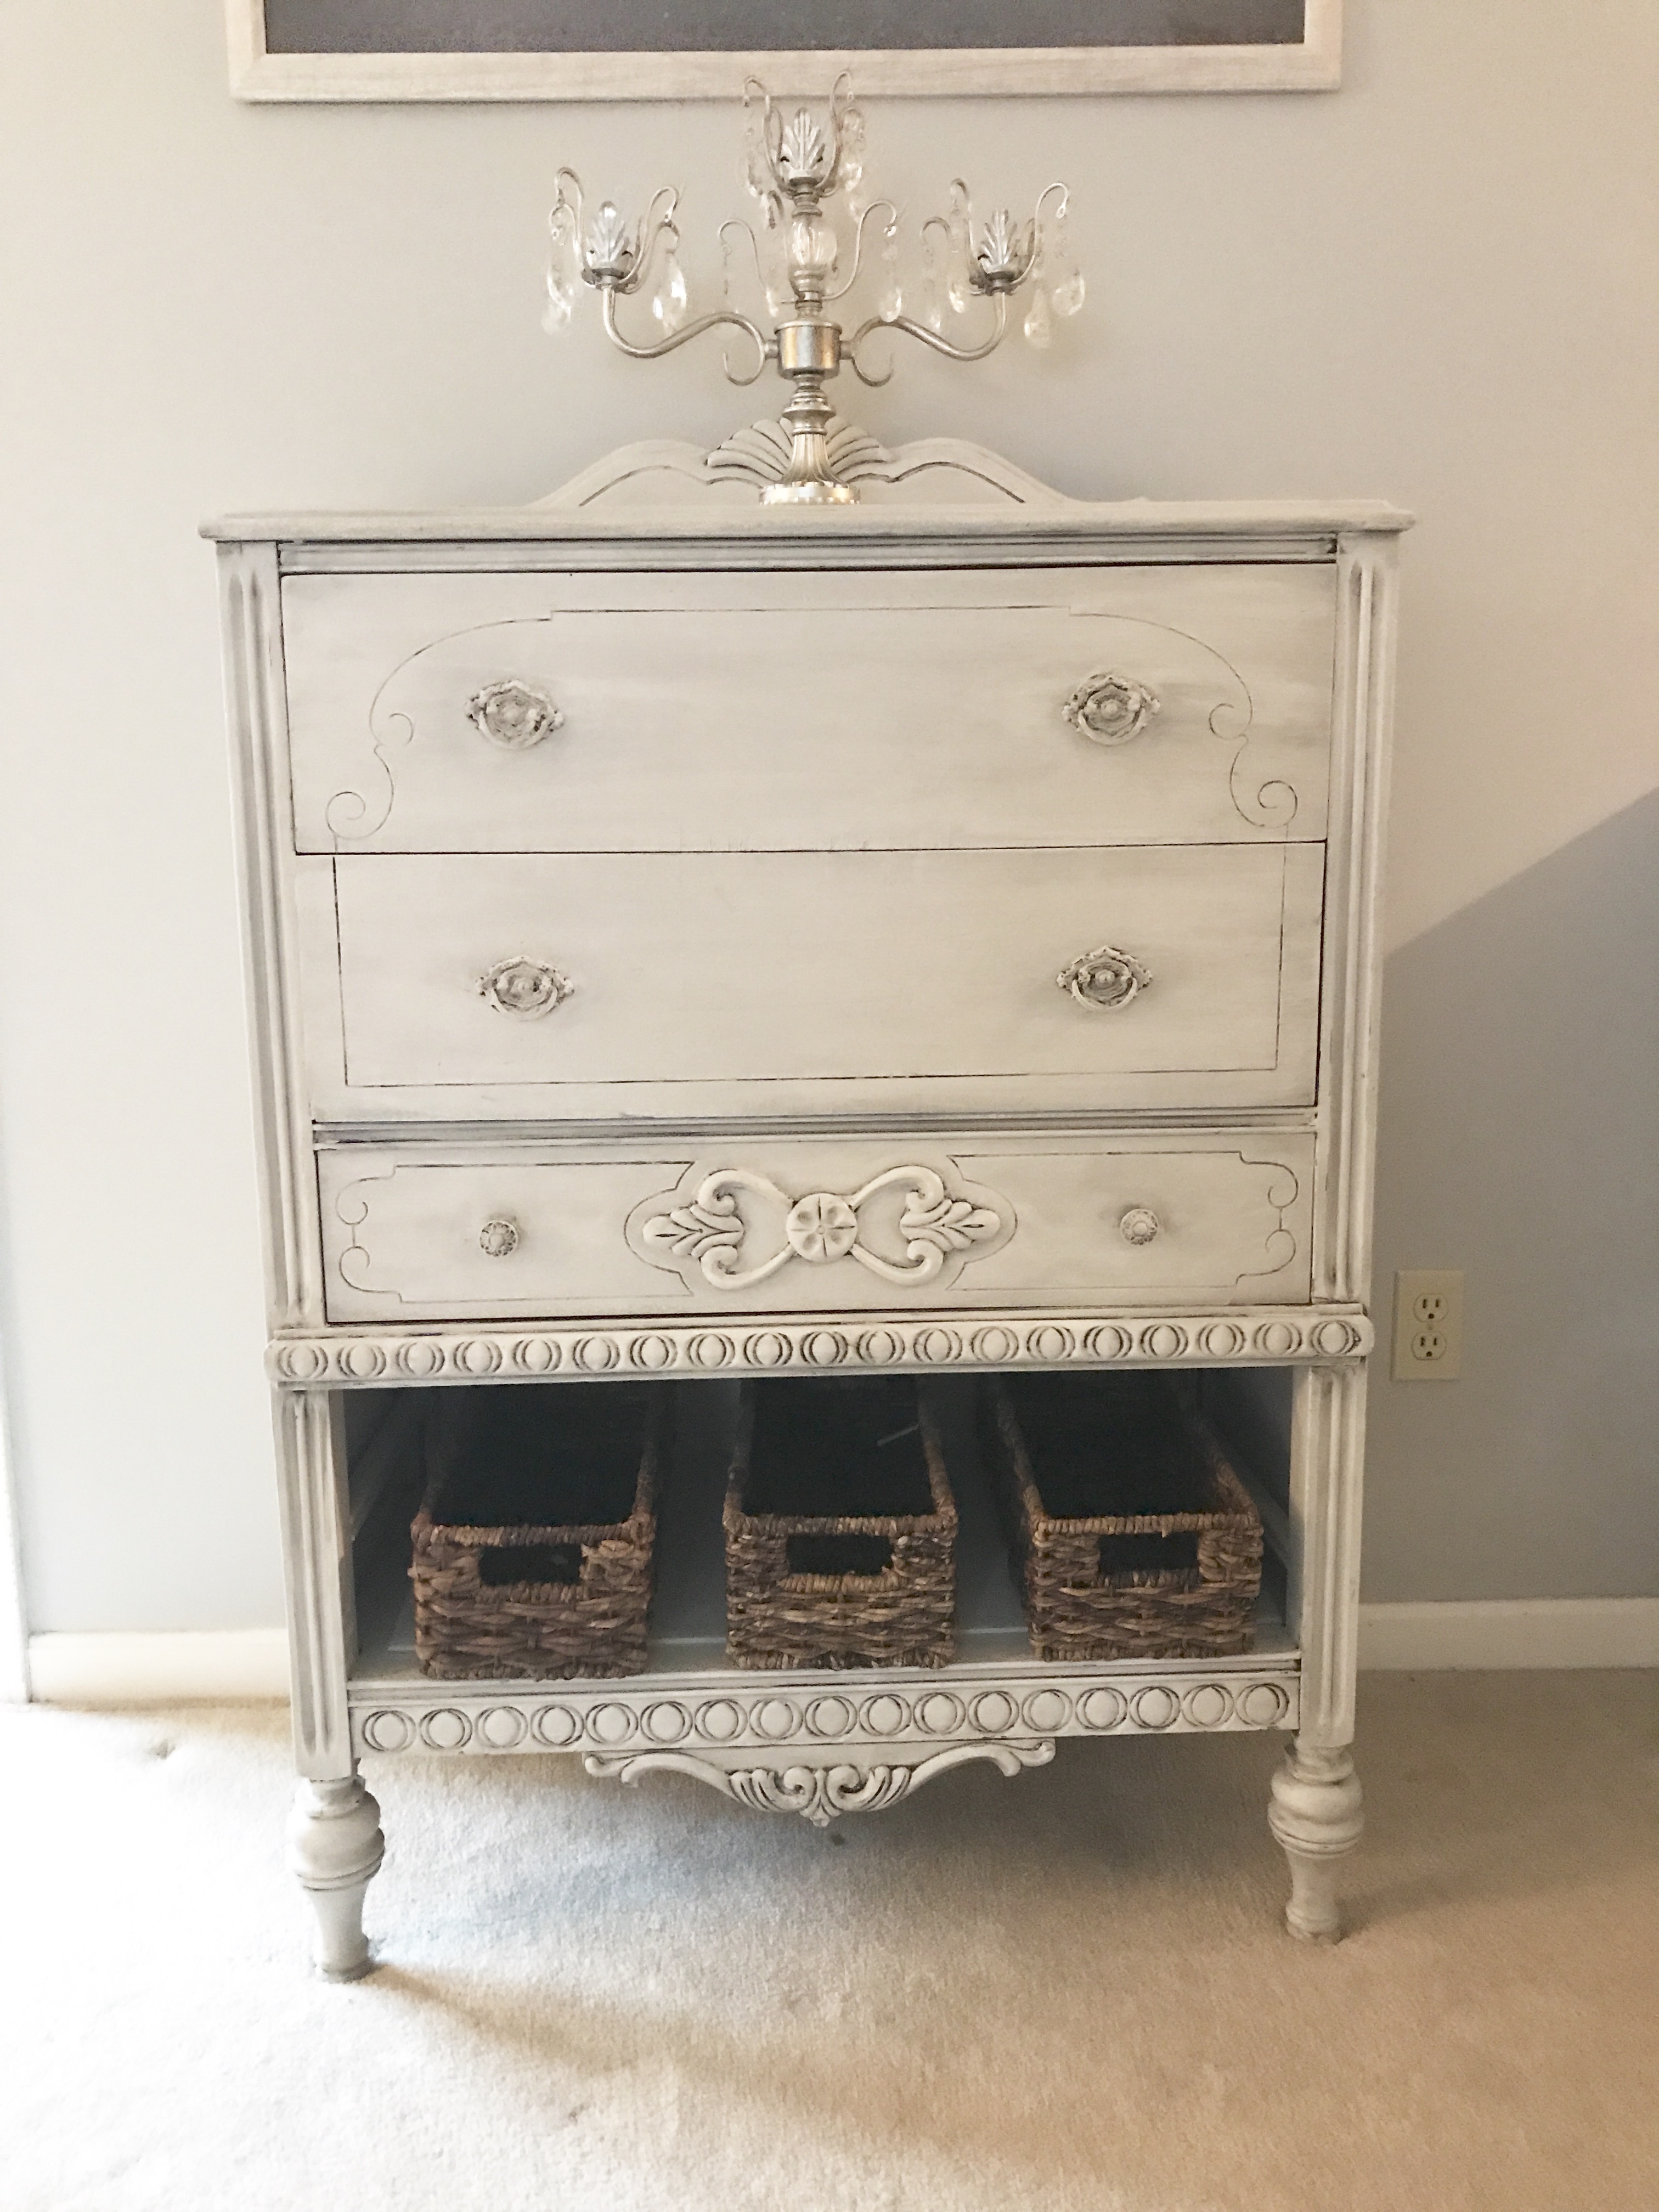
Paint used above: Paint Couture in Angelic. Black Chiffon Glaze.
The bottom drawer was broken so I popped out the bottom of it, painted it, and covered the hole. And then put baskets in it.
Okay let’s talk supplies.
Here’s what you’ll need when redoing your furniture:
Primer. I used this one.
Paint. This type of paint goes A LONG way so you don’t need a ton at all.
Top coat to seal.
Paint brushes. My mom let me use her really nice Annie Sloan chalk paint brush and I’m telling you, it makes a huge difference. This one is a best seller too.
Containers to put the paint in. I used old Cool Whip containers.
Terry cloths for glaze.
Plastic or sheets to put down on the ground.
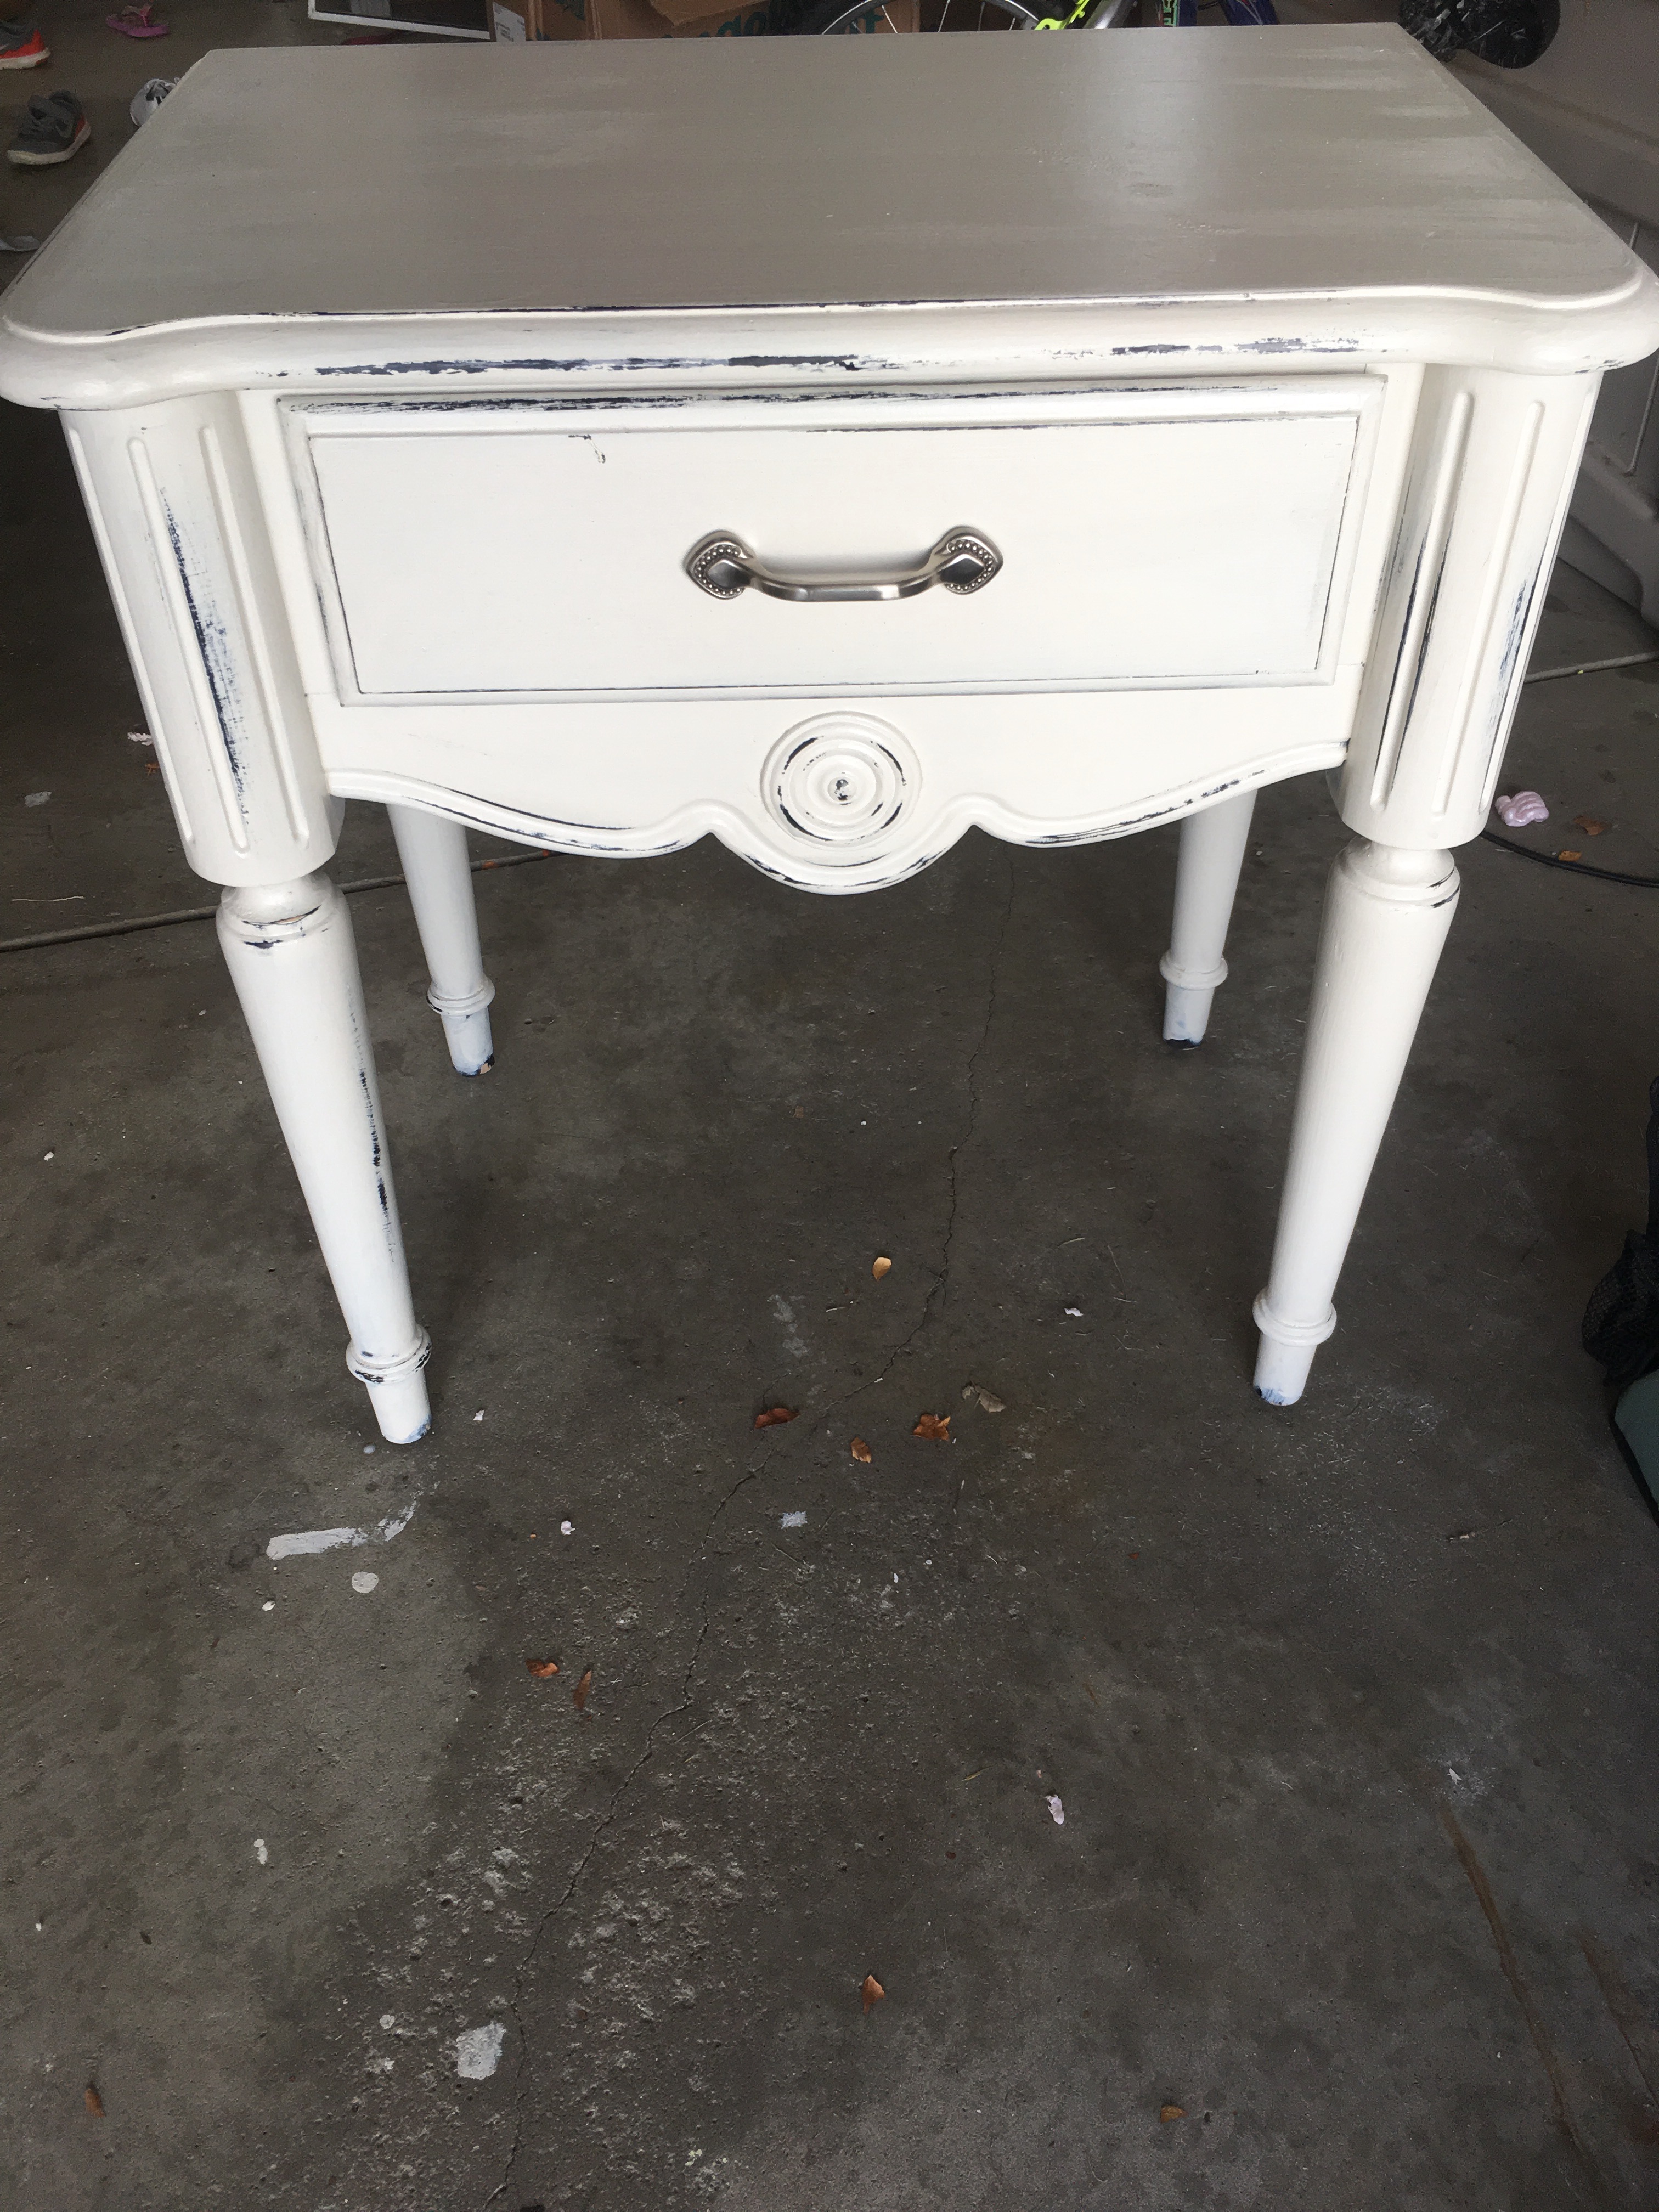
Screwdriver to take off hardware. I left some hardware on my older stuff because I liked the vintage look but like the piece below, I took the knobs off before painting.
Sandpaper for distressing.
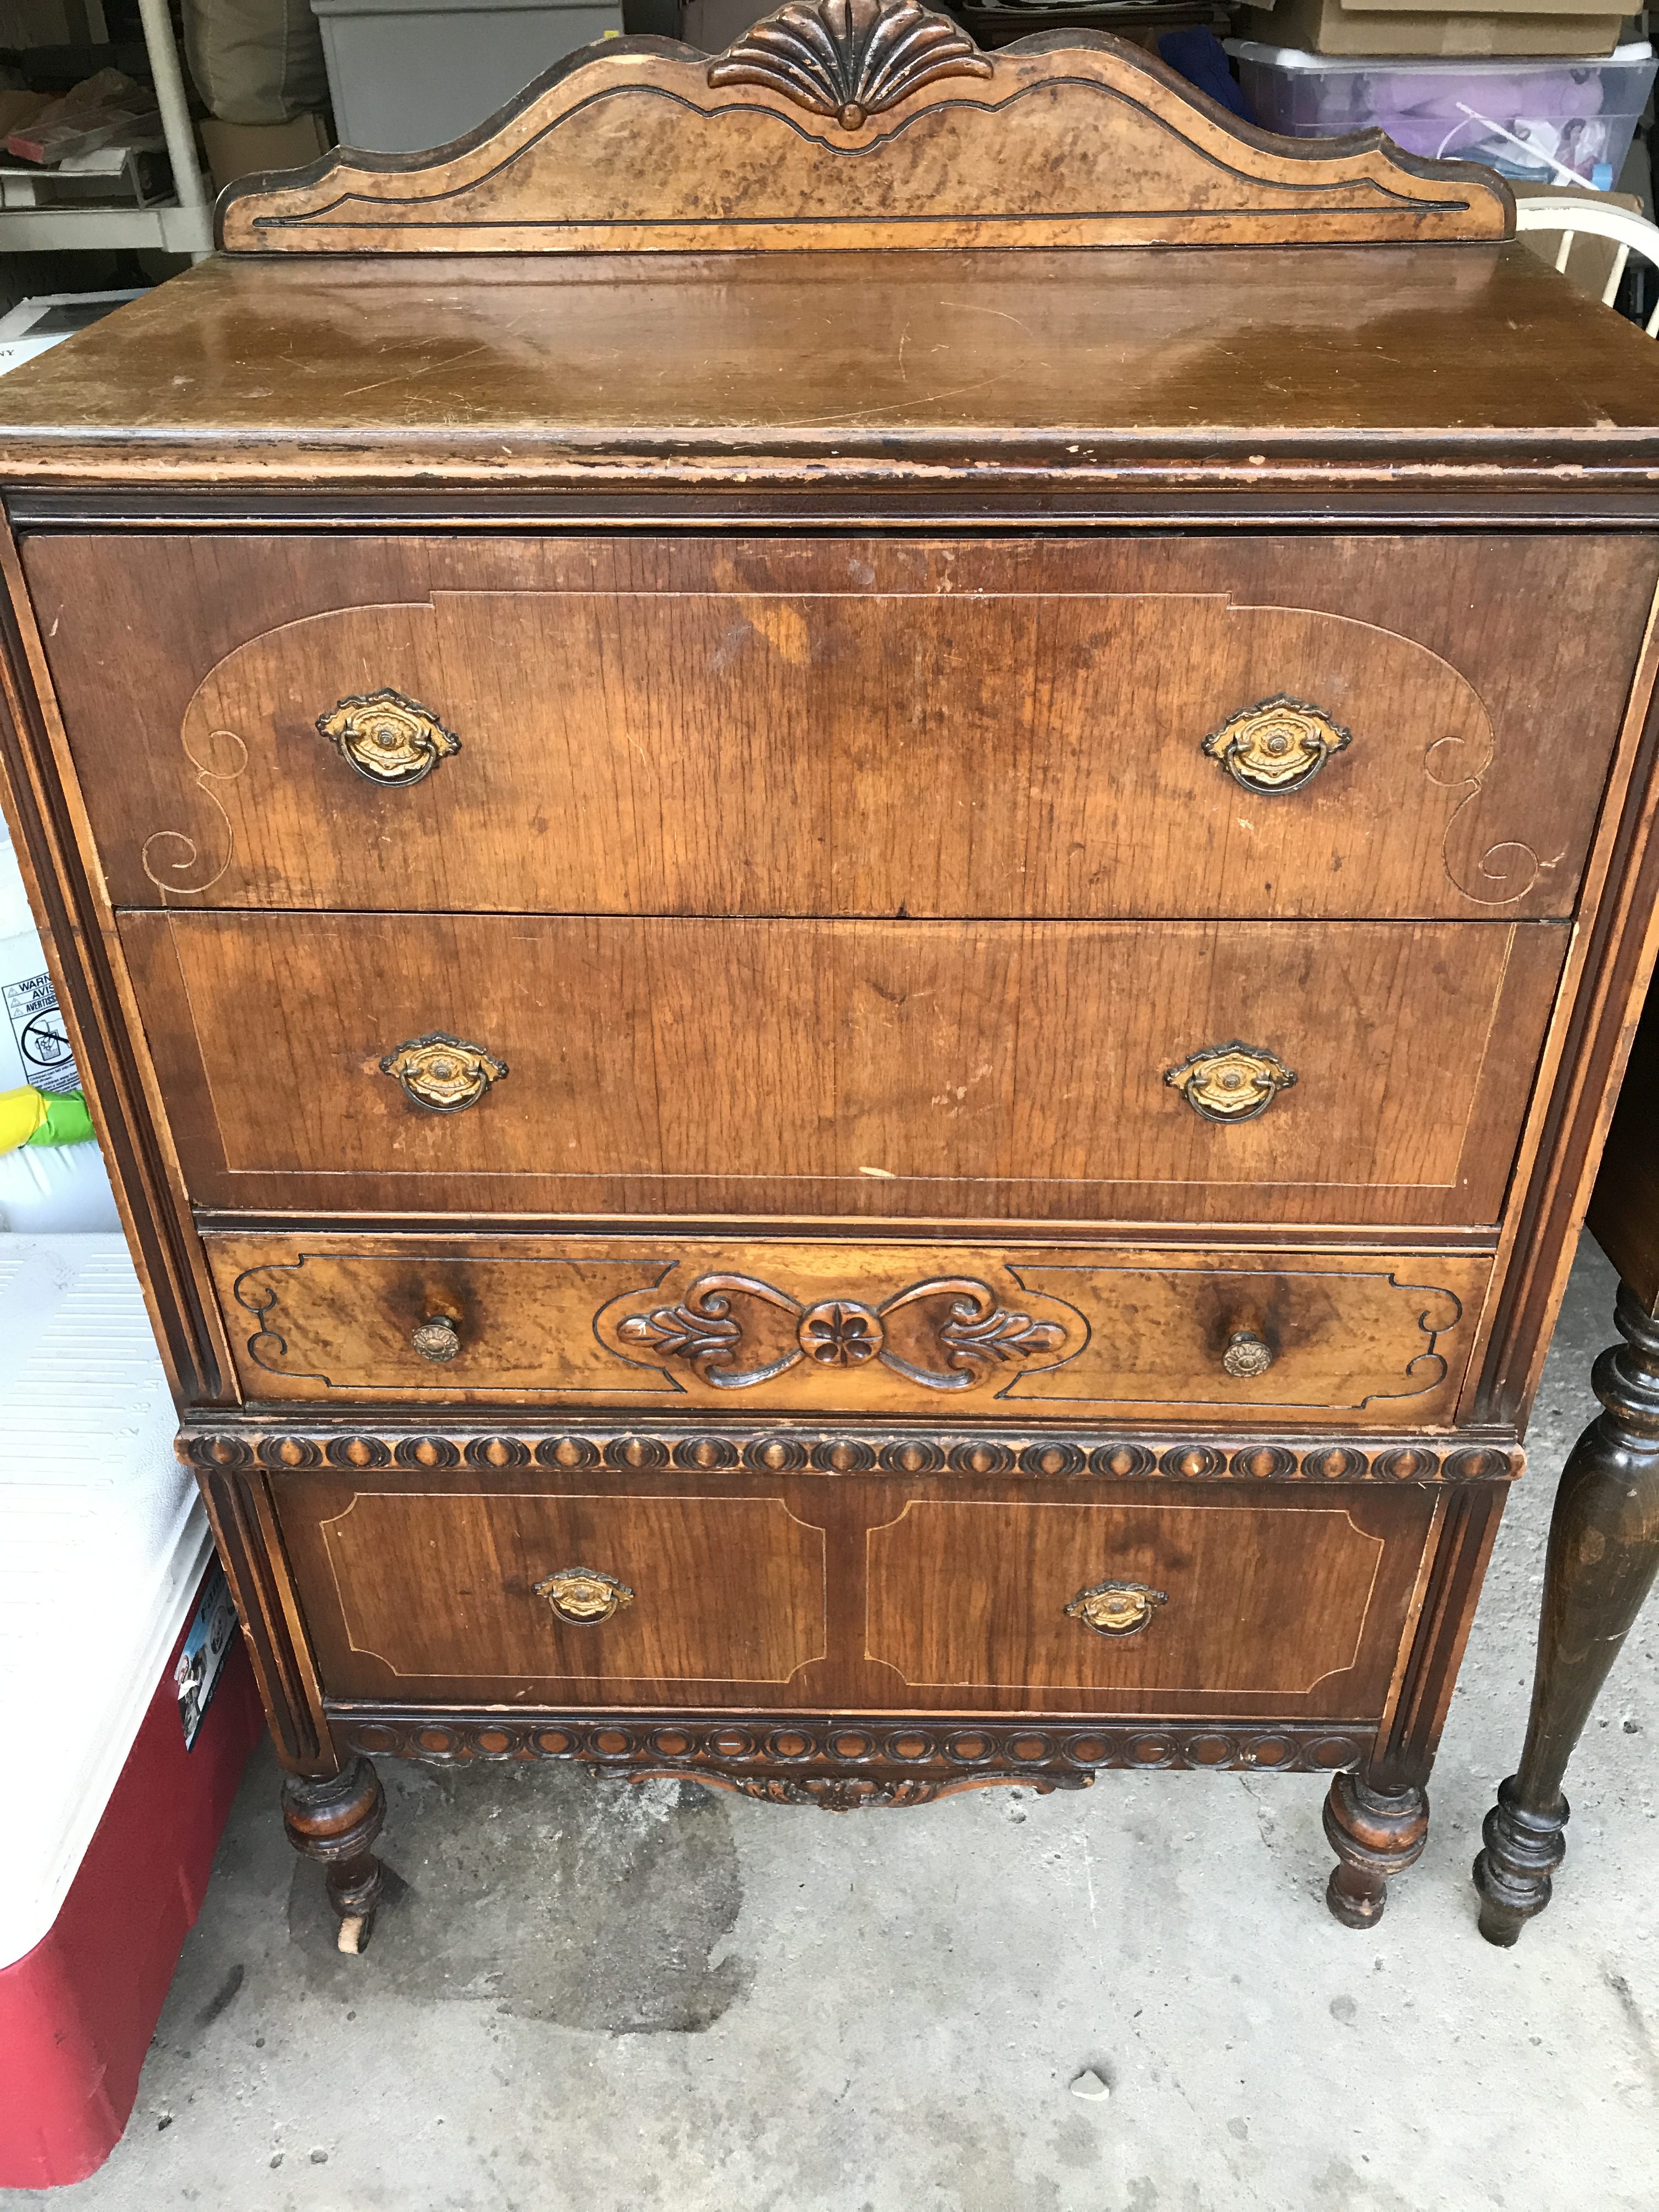
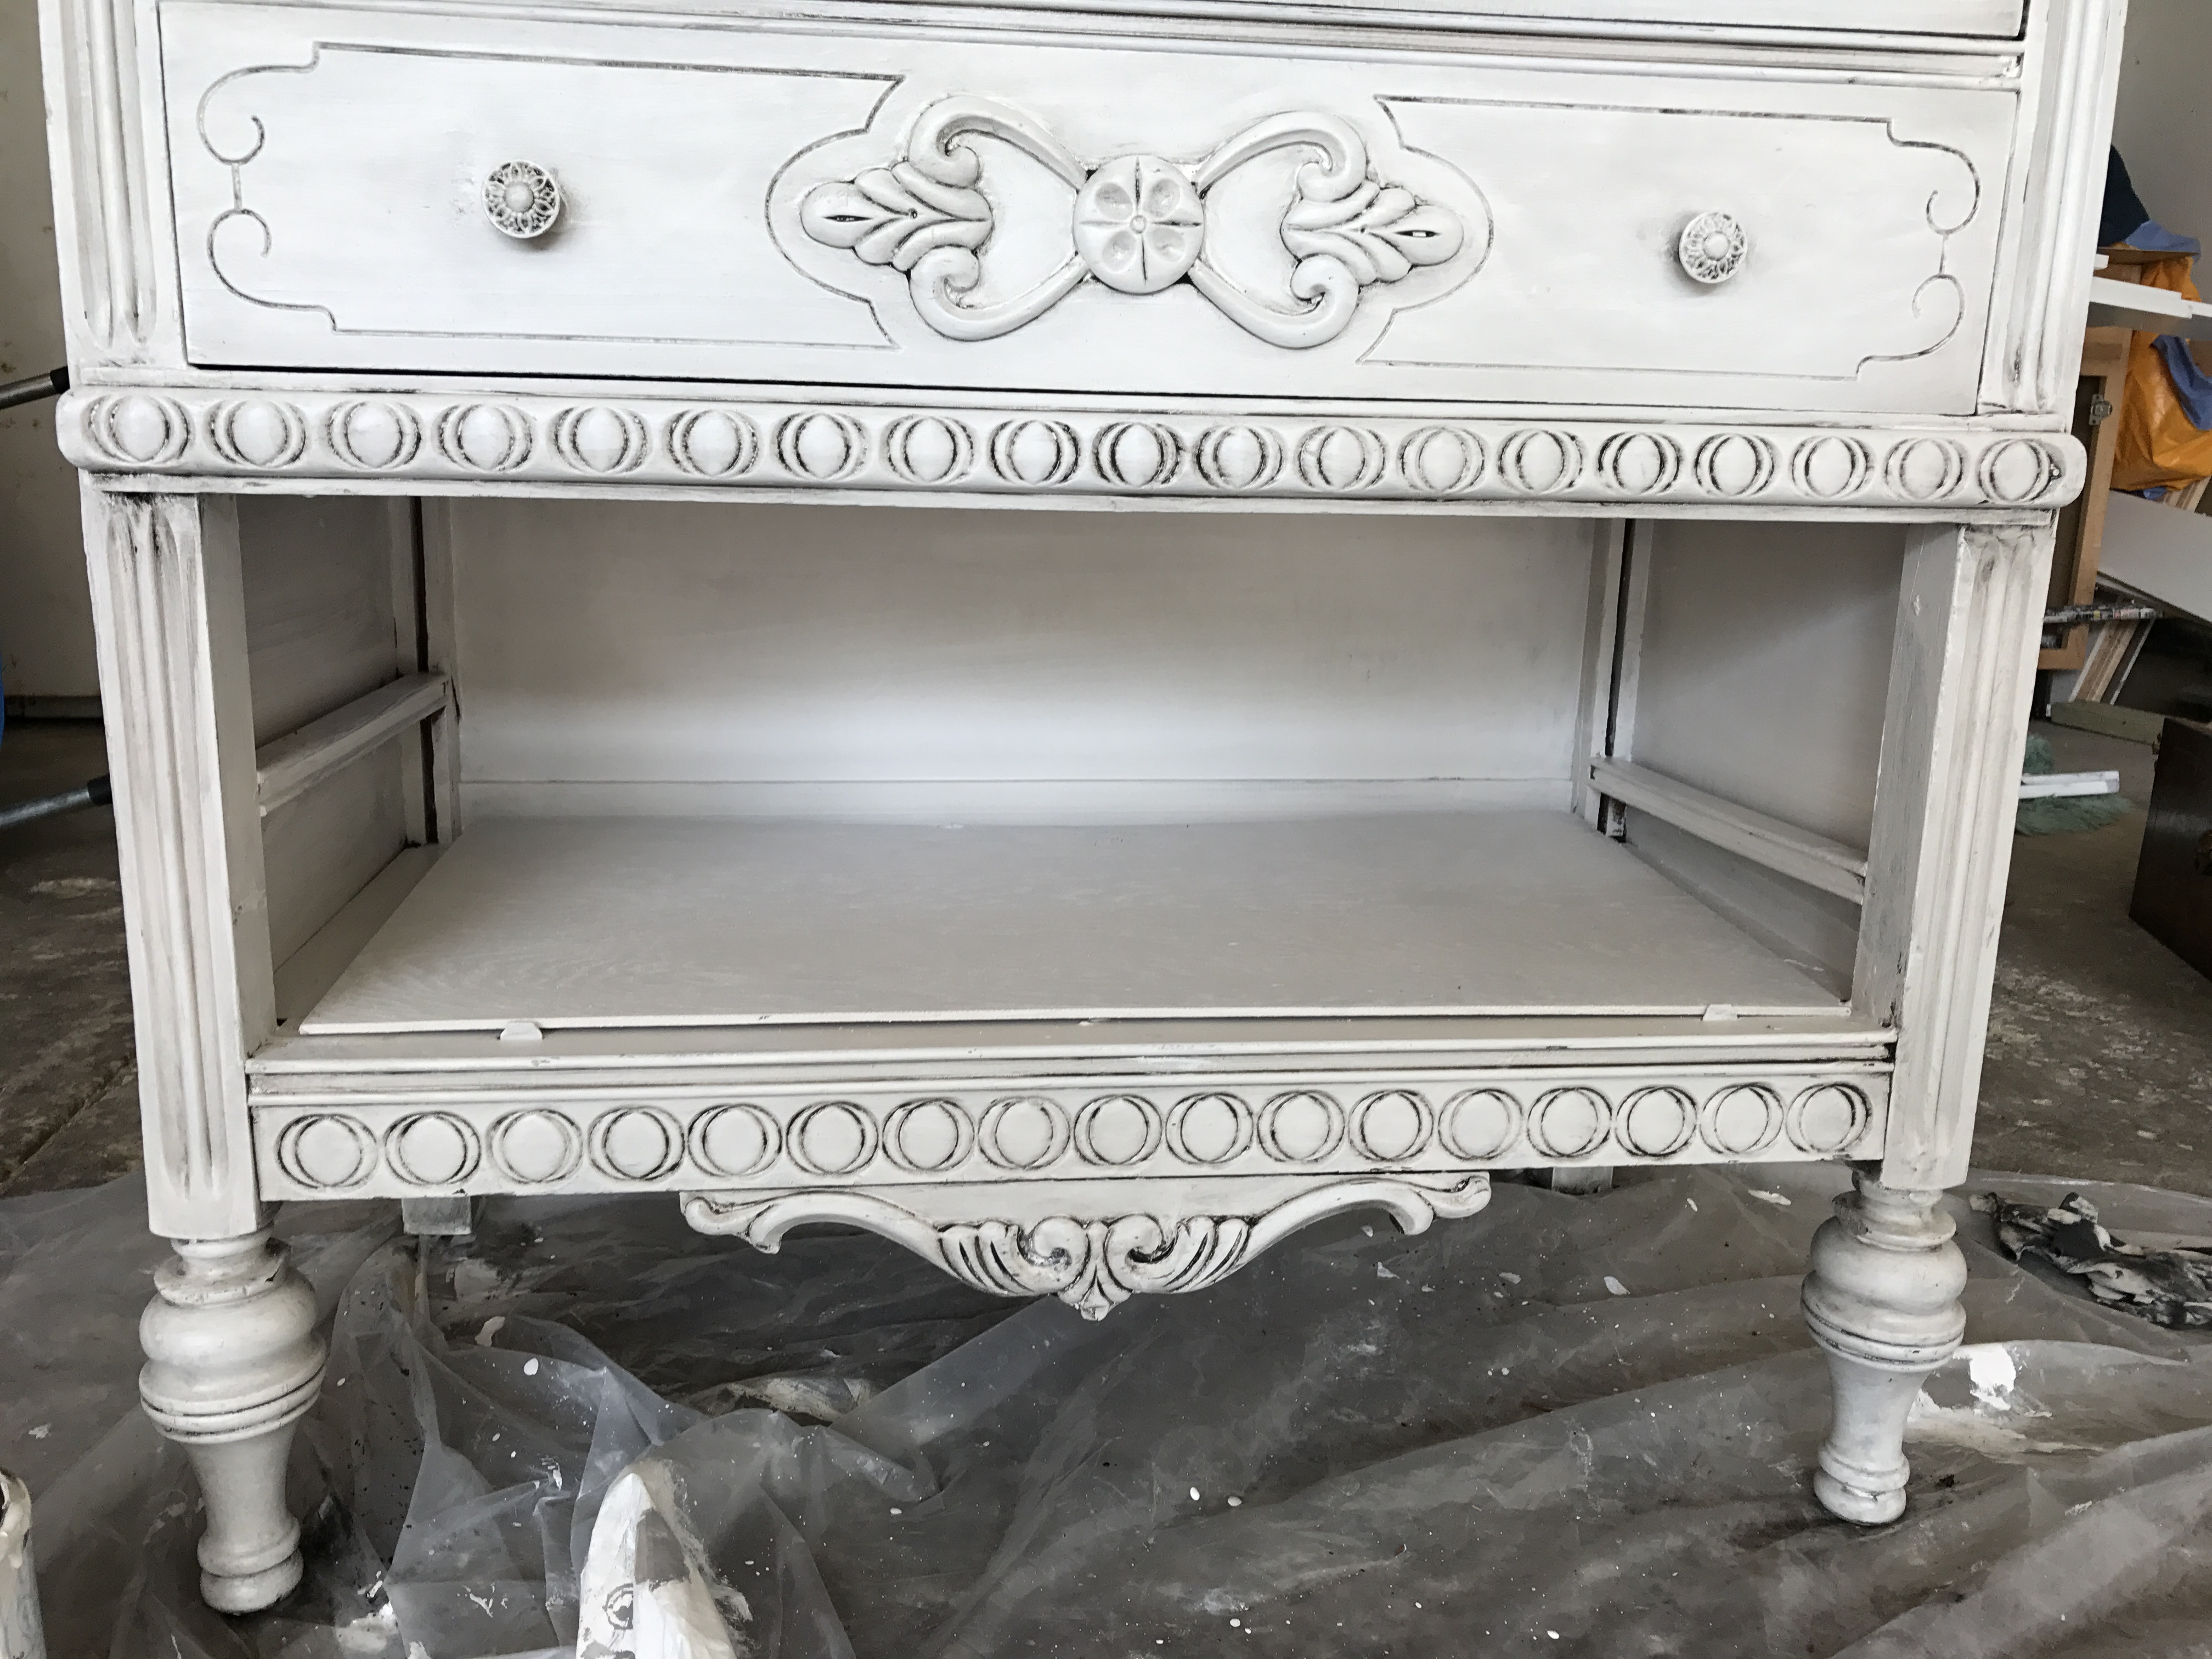
The next two pieces are the pieces that were black previously. Which were actually cream before we painted them black but that’s besides the point. I wanted the black to show through so I distressed it. How do you distress it? Sandpaper. Distress as much or as little as you’d like! I did certain areas that were raised, corners, the side of legs, etc. You want to distress where it would naturally be distressed had it been well, natural! This piece looks exceptionally cool because the black comes through but normally, this would be the natural wood or the previous color the piece had been.
(I forgot to take before pictures of the dresser and nightstand so this is all I could find. But you get the idea, they were black)

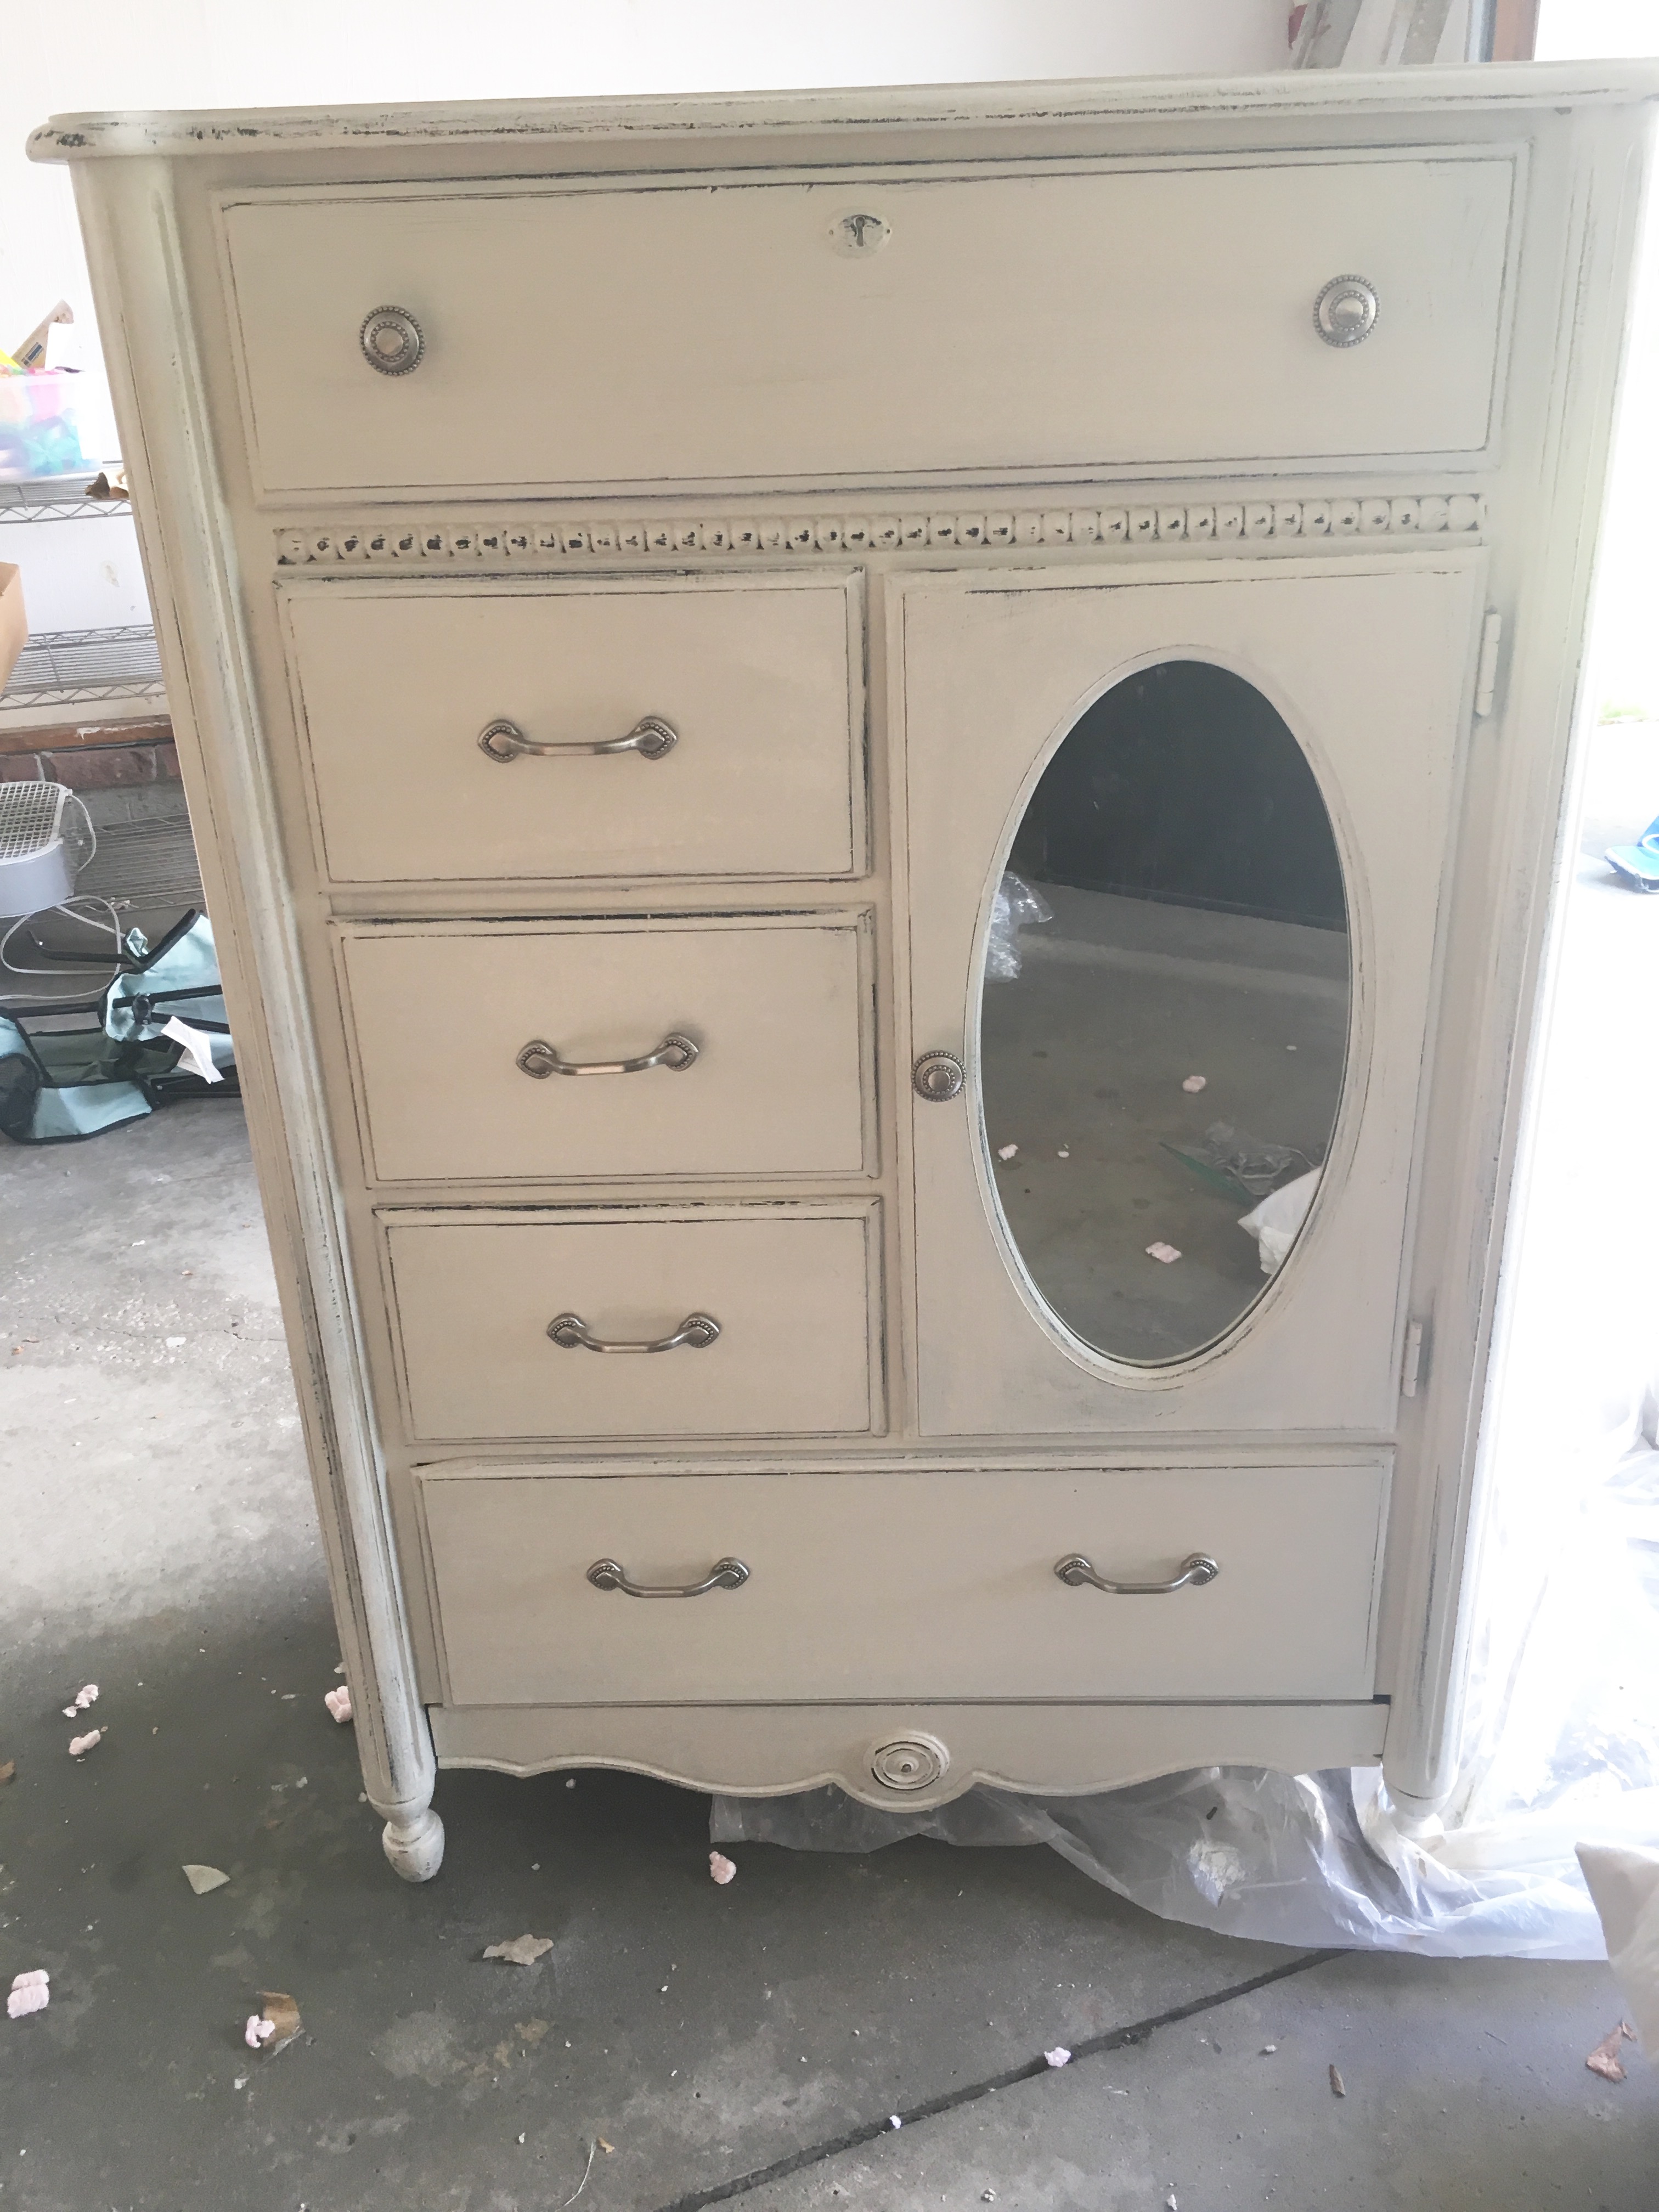
Paint used above: Primer. Paint Couture in Angelic. Black Chiffon Glaze. Couture Topcoat
So fun, right?! It’s definitely not as hard as it looks and it becomes addicting. Although it does take a lot of time so make sure you’re committed! Start with a small end table or nightstand and then work your way up to the bigger pieces. It’s so much fun to give these old pieces new life though!
If you’ve redone any old furniture, share a link so I can check it out! xo
2 COMMENTS
Kelly
9 years agoYou did such an awesome job and these are great tips, thank you!!!
xx Kelly
Sparkles and Shoes
Alex
9 years agoLOVE!! And you posted this at a perfect time, as I’ve been wanting to refinish an old dresser that we have! There are definitely some steps in there that I would have forgotten to do!